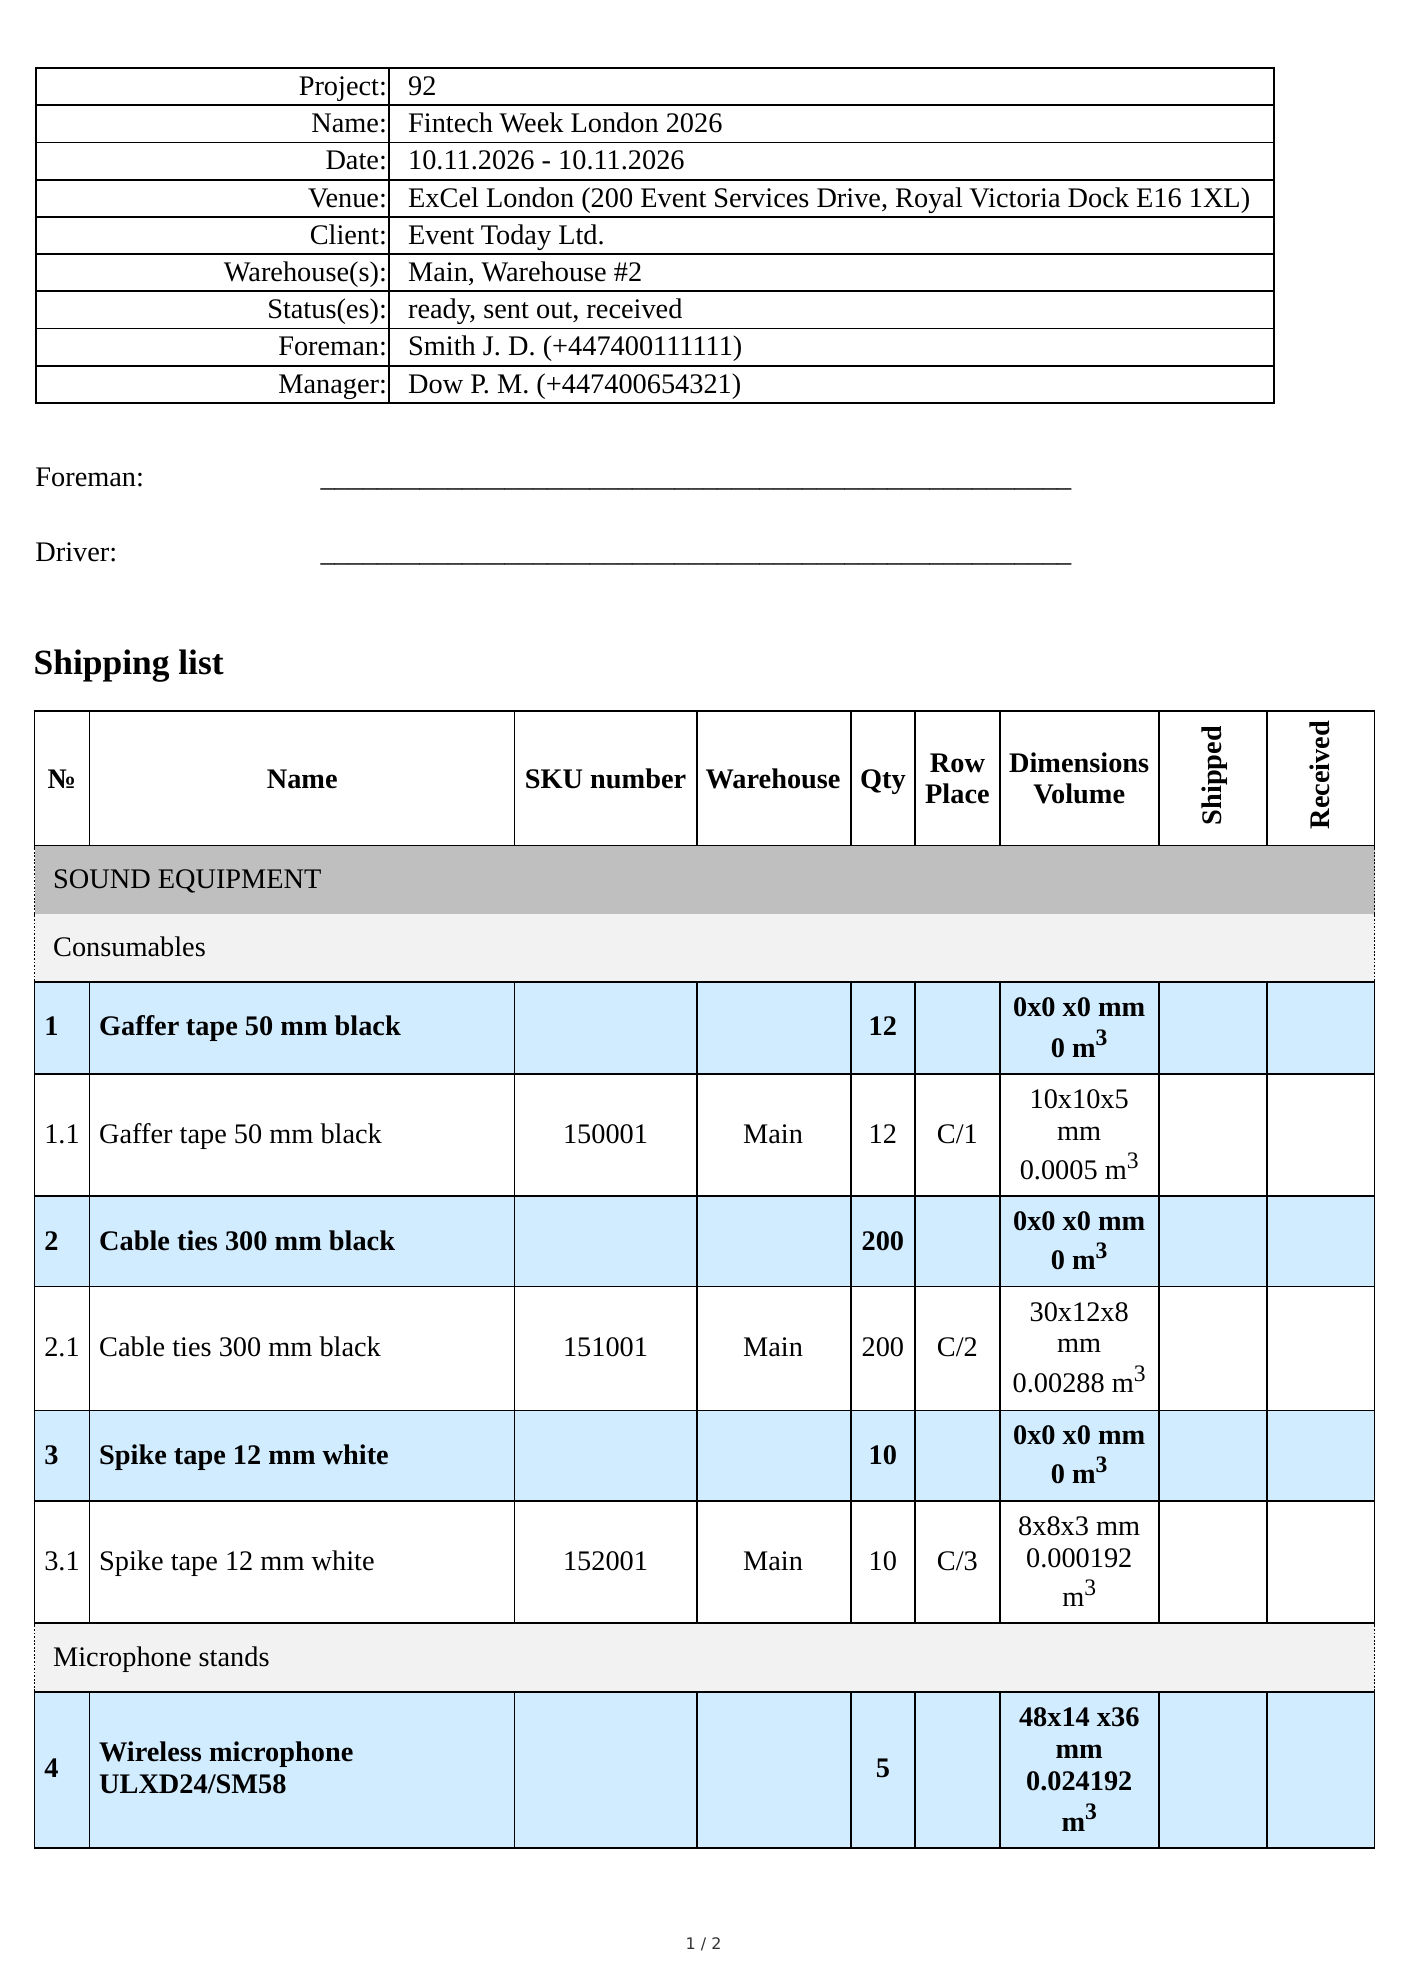
Warehouse pick list print options
The warehouse pick list is a document for the warehouse: what leaves for the project, from where and in what quantity. You download it in the "Print" block at the bottom of the "Specification" tab with the "Download (pdf)" and "Download (xlsx)" buttons. How the document looks is set in the print options. About the block itself: see Print.
To open the options, click "Show print options". Changes are saved at once and remembered for this project: next time you download the pick list, it looks the same. The "Reset all settings" button returns the default values from the global settings (see Print. Default Display Setting).
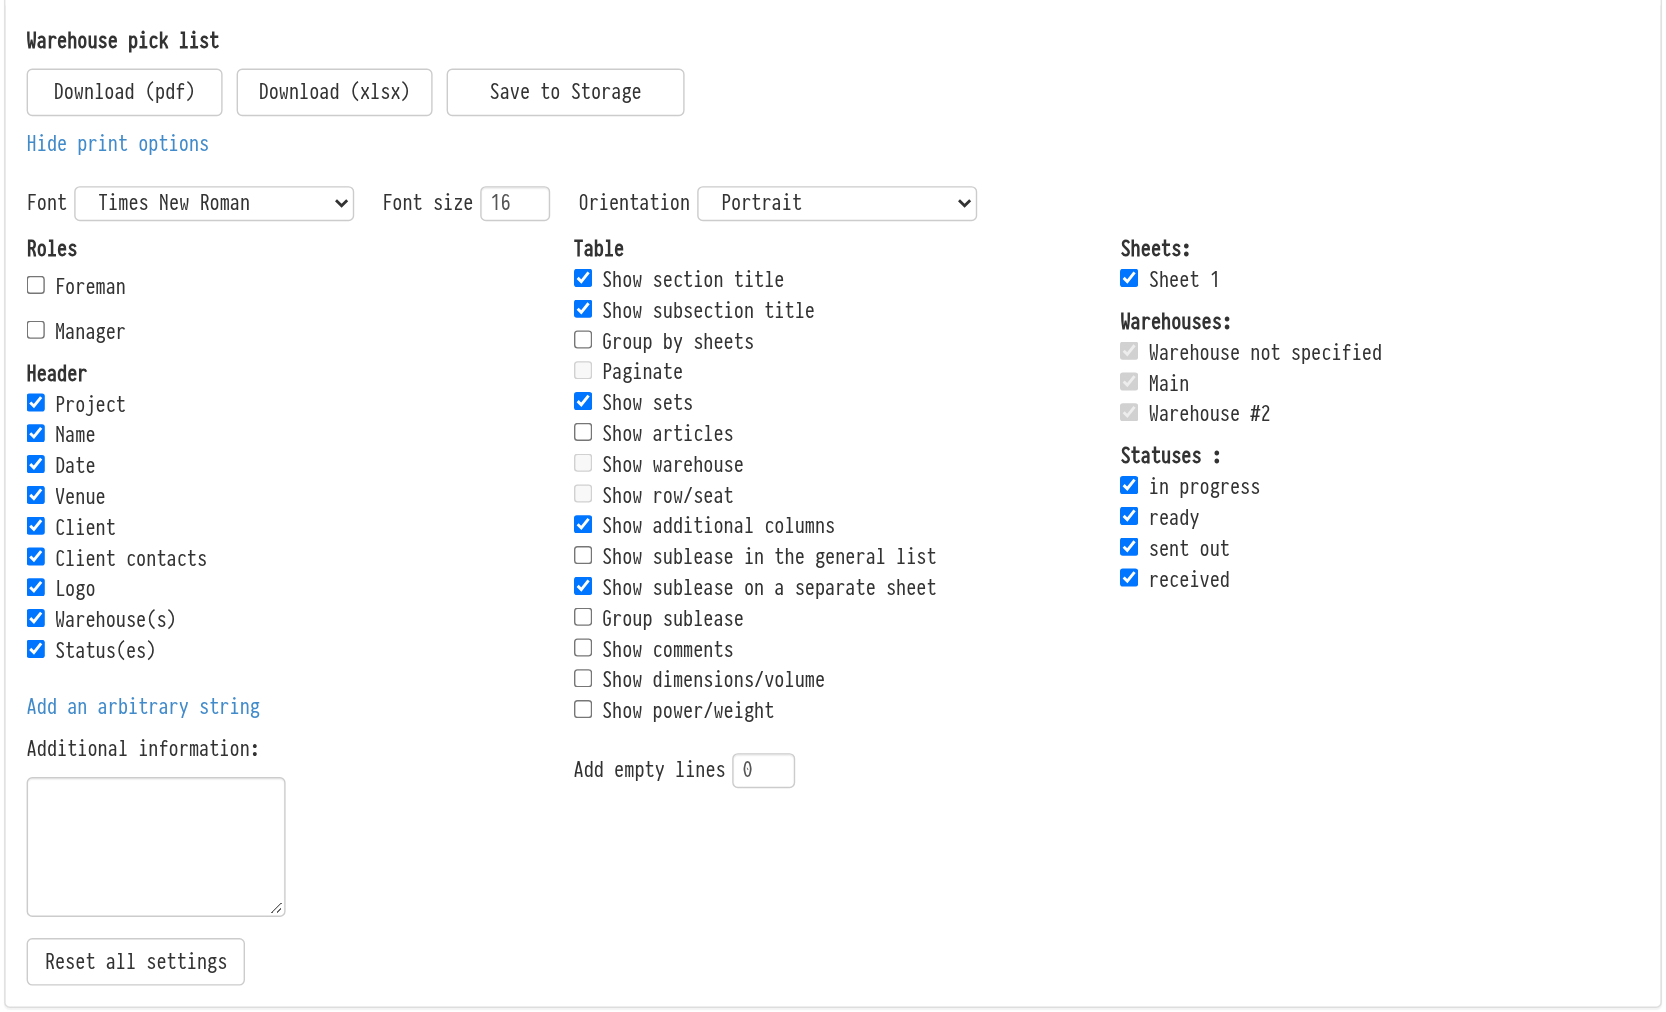
Layout
In the top row you select the "Font" (Arial, Pragmata, Roboto, Times New Roman), the "Font size" and the "Orientation": portrait or landscape.
Roles and header
You can now build the document header from the fields you need.
Roles: the roles assigned in the project on the "Information" tab. Check who to show in the header. A checked role gets a "Contact" checkbox: then the phone number is shown next to the name. If the project has no roles assigned, the system tells you so.
Header: which project details to print: the project number, the name, the dates, the venue and its contacts, the client and their contact person, additional information, a comment, the logo, and the selected warehouses and statuses. Items that are not filled in the project do not appear in the list.
Add an arbitrary string: your own line in the header, for example "Loading at 7:00 at gate 2". The cross deletes a line you do not need.
Additional information: free text for the warehouse. It gets into the header if the item of the same name is checked.
Table
The checkboxes in the "Table" column define how the equipment list is built:
"Show section title" and "Show subsection title": split the list with catalog section titles;
"Group by sheets": a separate table for each specification sheet;
"Paginate": each specification sheet starts on a new page. The checkbox is available when grouping by sheets is on;
"Show sets": show kits with their contents;
"Show articles": the numbers of specific units (SKUs). If SKUs are hidden, the quantity per entry remains;
"Show warehouse" and "Show row/seat": where each SKU is stored (warehouse, row and bin). Available when SKUs are shown;
"Show additional columns": empty columns for handwritten notes (see Setting up (additional) columns of the inventory list);
"Show sublease in the general list": subleased entries go together with the rest;
"Show sublease on a separate sheet": a separate "Sublease" table at the end of the document: lessor, address, contacts, when to pick up and return, terms, comment. "Group sublease" joins identical entries in it into one row with the quantity;
"Show comments": comments on entries and SKUs from the specification;
"Show dimensions/volume" and "Show power/weight": data from the catalog entry cards. Useful to plan loading and power supply.
In the "Add empty lines" field, enter how many empty rows to add at the end of the table, for what the warehouse adds by hand.
Sheets, warehouses and statuses
In the right column you select what gets into the pick list:
Sheets: which specification sheets to print. For example, a separate pick list for sound and for lighting;
Warehouses: SKUs from which warehouses to show. Useful if equipment is picked in different warehouses: each warehouse gets its own pick list. Available when SKUs are shown;
Statuses: SKUs in which warehouse statuses to show.
You can also show the selected warehouses and statuses in the header: the "Warehouse(s)" and "Status(es)" items in the "Header" block.