Creating a Set
You can create a set from scratch or make it from a ready kit.
New set
Open "Databases" → "Catalog". Expand the subsection of the catalog where you need the set: click the folder once in the tree, or double-click it in the working area in the centre of the page. Above the working area, click the set icon (two barcodes). The new set appears in the selected subsection. Then add entries to it, see Adding Entries to a Set.
Set from a kit
If you already have a kit that in practice always travels as one case, you do not need to build it again as a set.
Open the subsection in the tree where the set should appear, and select the kit in the working area: its card opens on the right.
On the "Information" tab, click the "create set" link in the "Type" row.
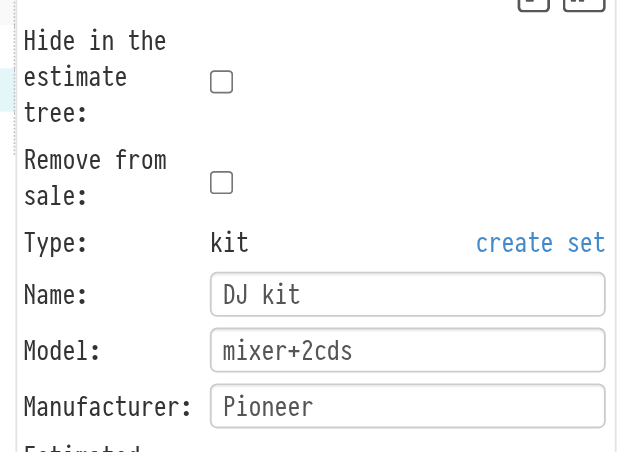
A set with the same name, model and unit of measurement as the kit appears in the open subsection. The kit contents with all quantities are copied to the set automatically. The rental price, estimated cost and parameters of the set are by default calculated as the sum of the included entries; you can change them in the set card, as for a kit. The kit itself stays in the catalog unchanged.
Next, create SKUs for the set (one for each real case in the warehouse) and assign specific SKUs of the included entries to them. See Set SKU.
Please note. After copying, the set and the kit are not linked. If you change the kit contents later, the set contents do not change, and the other way round.