Planning
In this tab you specify the project tasks, its phases, all employees involved and the vehicles related to the project.
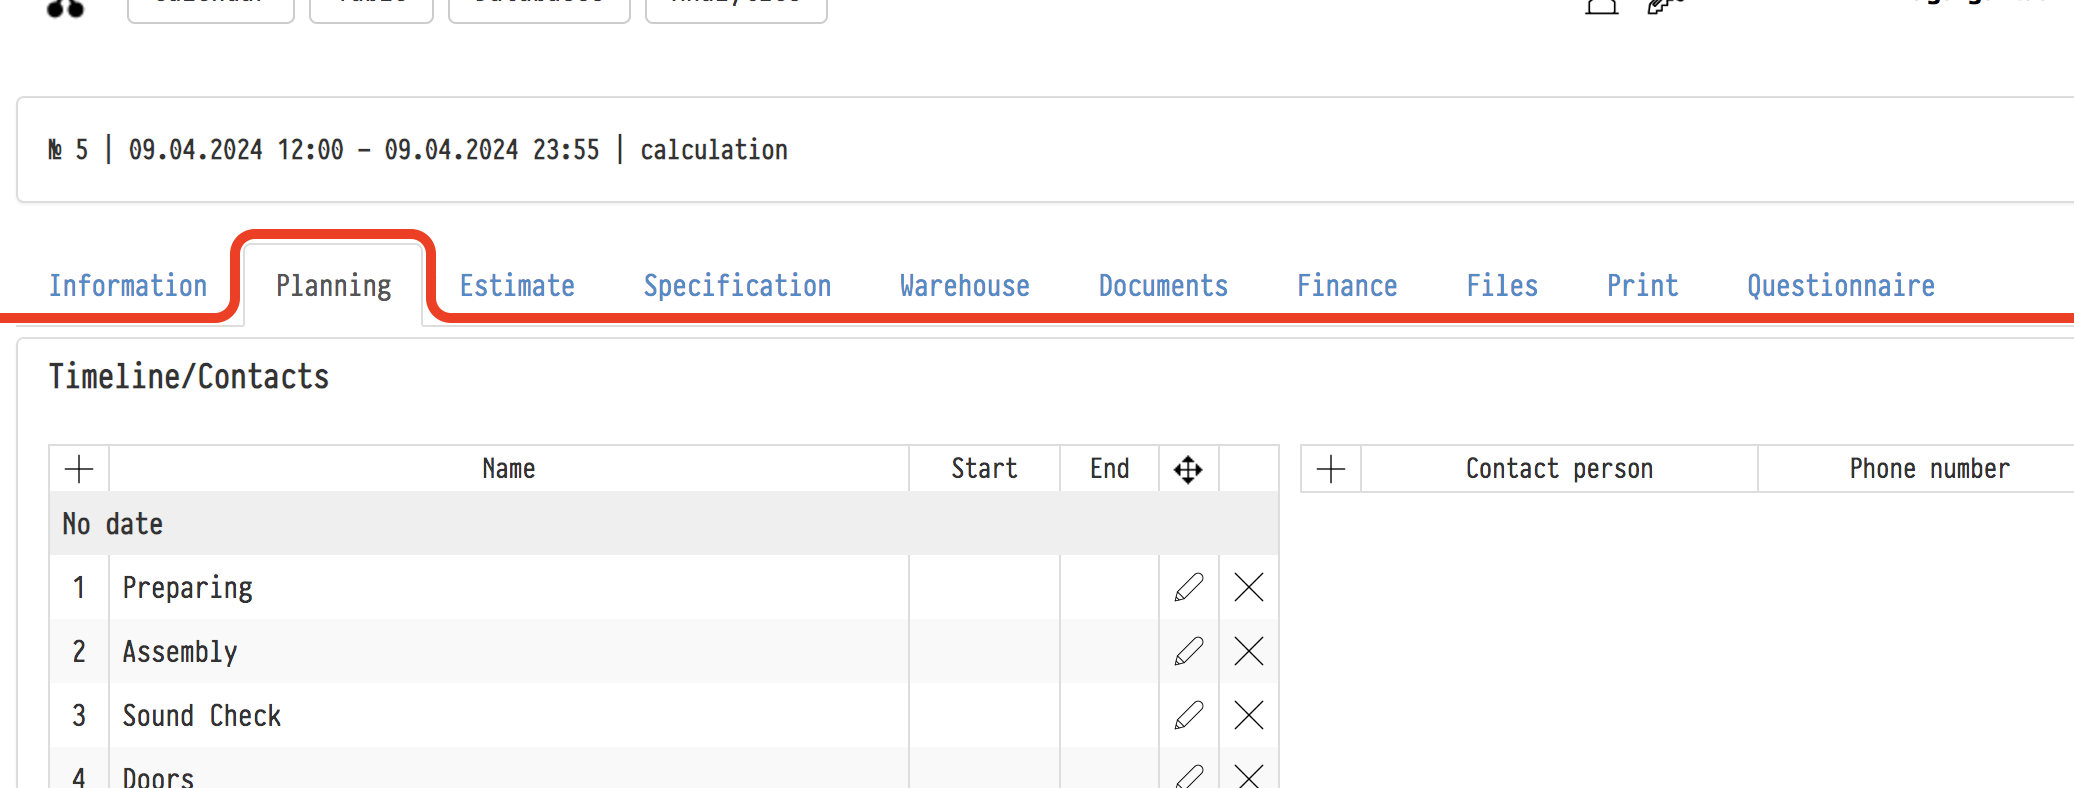
The first block of this tab is "Timeline" (with the "Contacts" list). Set the key dates of the project here, and the people responsible for them.
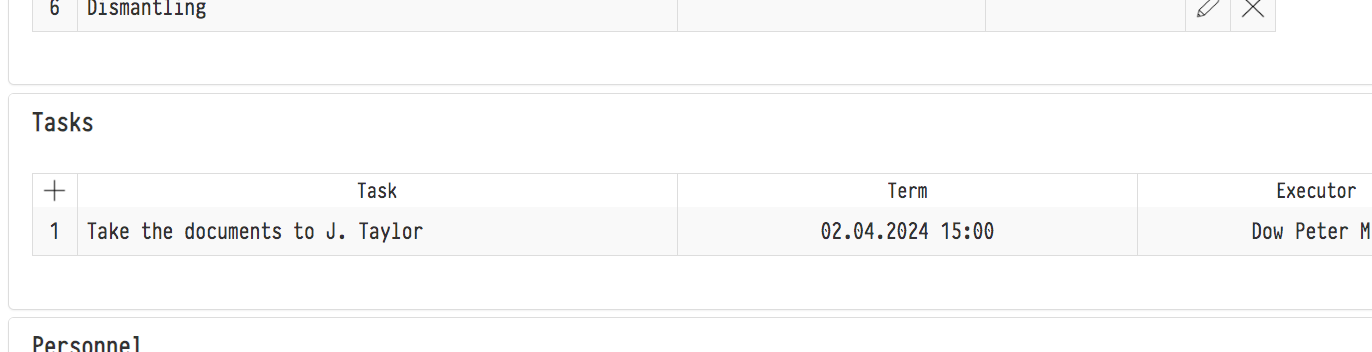
In the next "Tasks" block, enter the task, the deadline and the performer. Specify who can see the task. More about tasks and their files is below, in the "Project tasks" section.
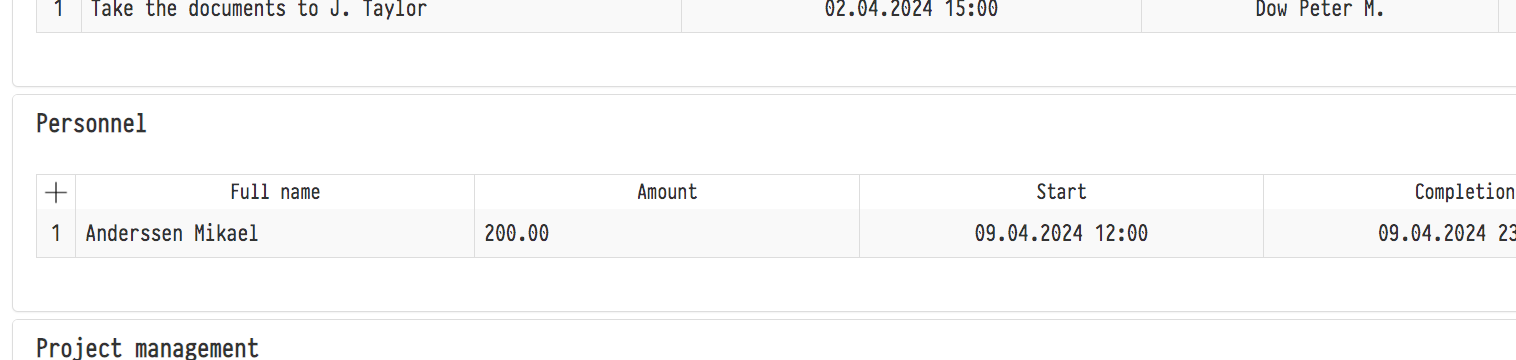
In the "Staff" block, add all the employees who will work on the project. Also specify their job titles, the period of their work in the project and the planned payment for this time.
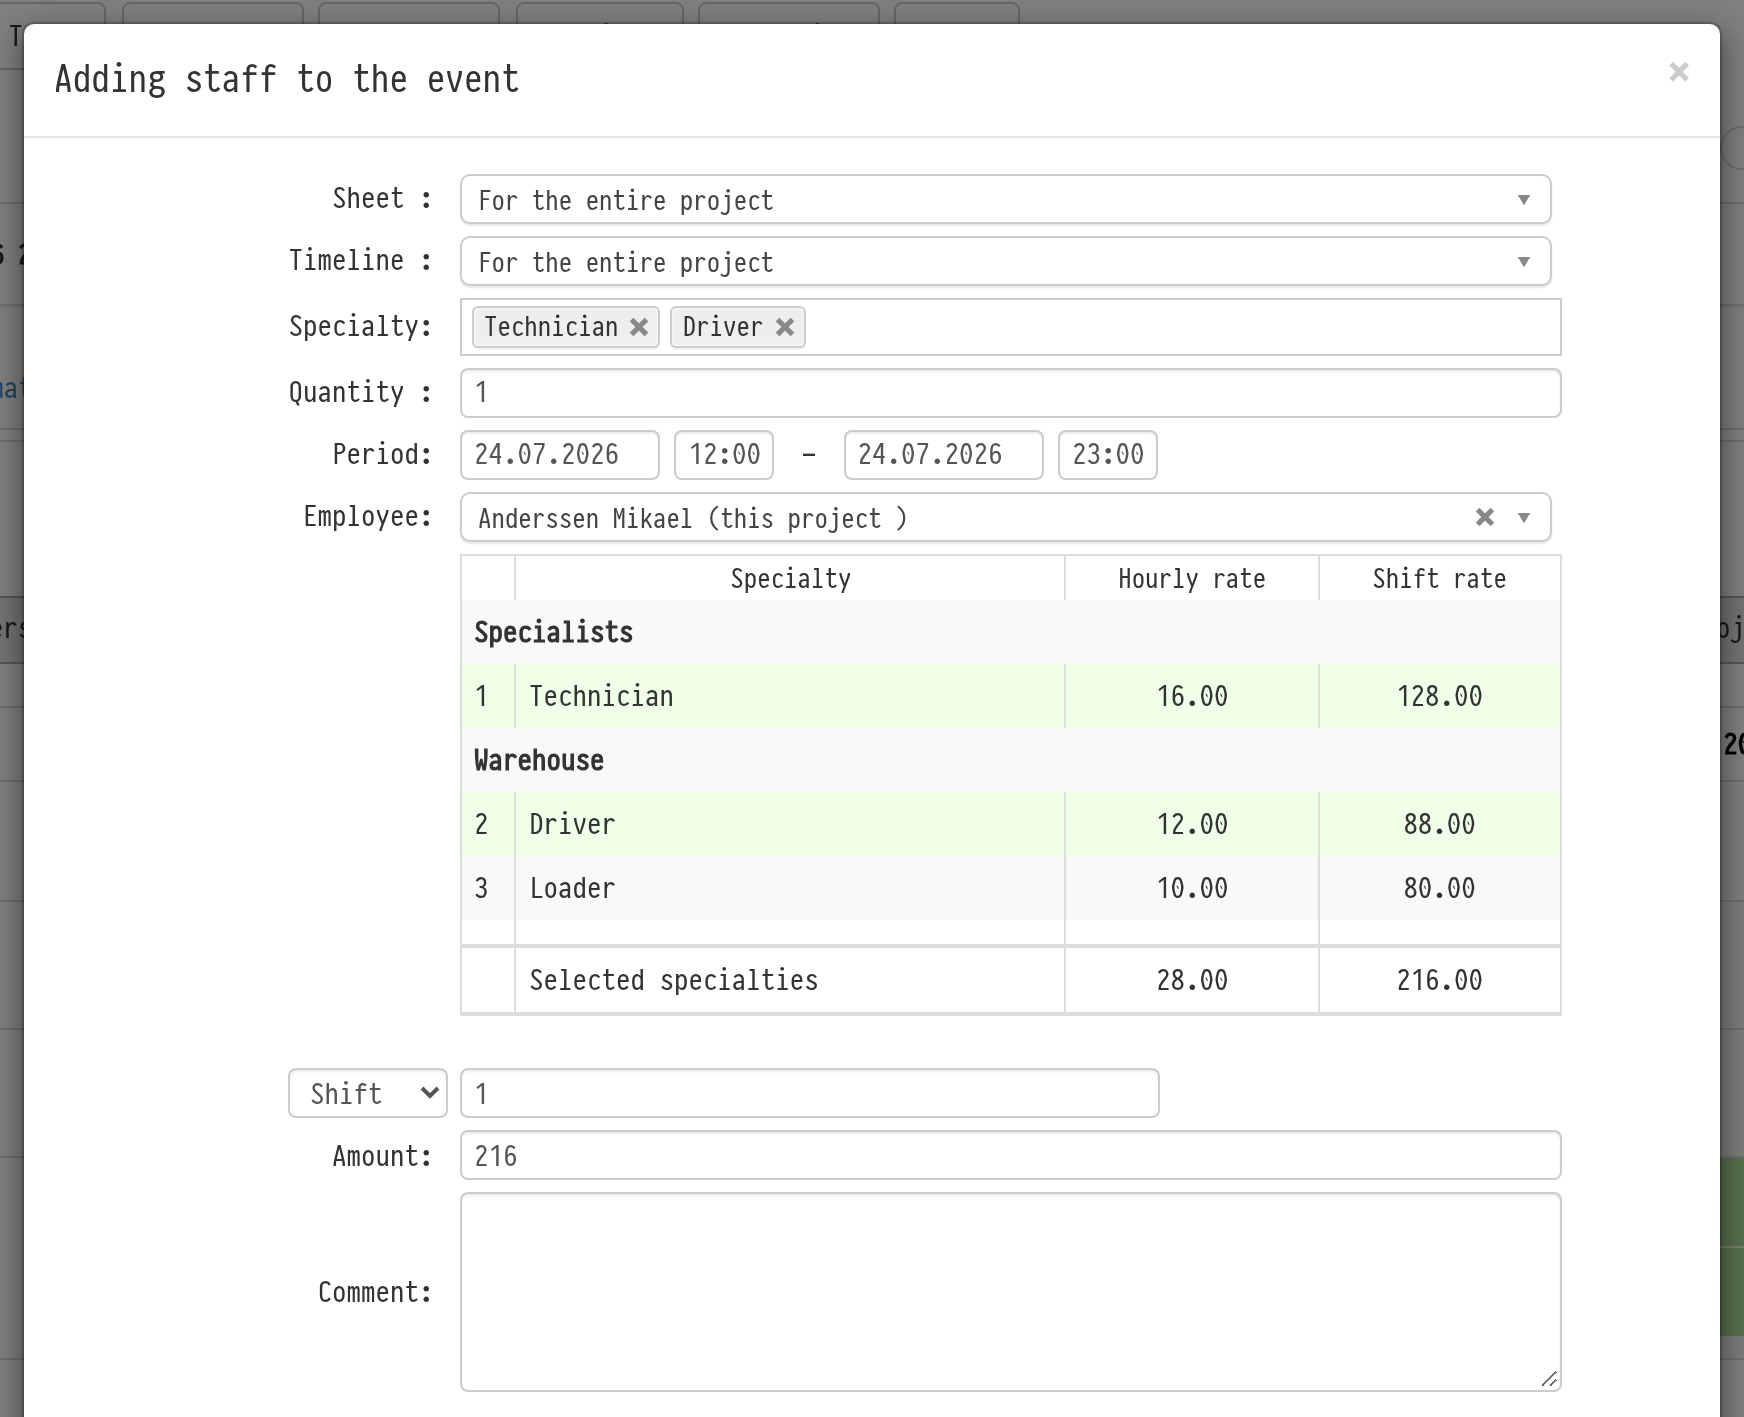
In the "Adding staff to the event" window, the specialty and employee lists are linked. If you select specialties, only employees with them stay in the employee list. If you select an employee first, only their specialties stay in the specialty list. Specialties follow the order set in "Databases" → "Employees" → "Options" → "Specialties".
If the specialty does not matter, leave the field empty: the employee is added with "No specialty", which does not narrow the employee list. See Specialties.
Payment calculated by rates
You do not need to calculate the payment amount manually. When you select an employee, the window shows a table of their specialties with the rates: "Hourly rate" and "Shift rate". The rates are taken from the employee card in the "Employees" database. Specialties selected in the "Specialty" field are highlighted in green.
Under the table there is the "Selected specialties" row, which adds up the rates of the selected specialties. If the employee works in several specialties in this shift at once, for example as a technician and a driver, select both: the expense is calculated by the sum of their rates.
Below is the calculation row. Choose "Hour" or "Shift" in the list and enter the number of hours or shifts. The "Amount" field is filled in automatically: the quantity multiplied by the rate of the selected specialties. You can correct the amount manually.
The calculation works the same way in the window for editing an employee in the project. How to set employee rates: Adding employees and Specialties.
Please note. If you enter more than one person in the "Quantity" field, the "Employee" field is hidden and there is no rate table. In this case, enter the amount manually.
Next, in the "Project Managers" block, specify who manages the project and how much they are paid. See below.
In the lowest block, "Vehicles", add the company vehicles involved in the project. The planned costs of their use are also entered here.

Project Managers
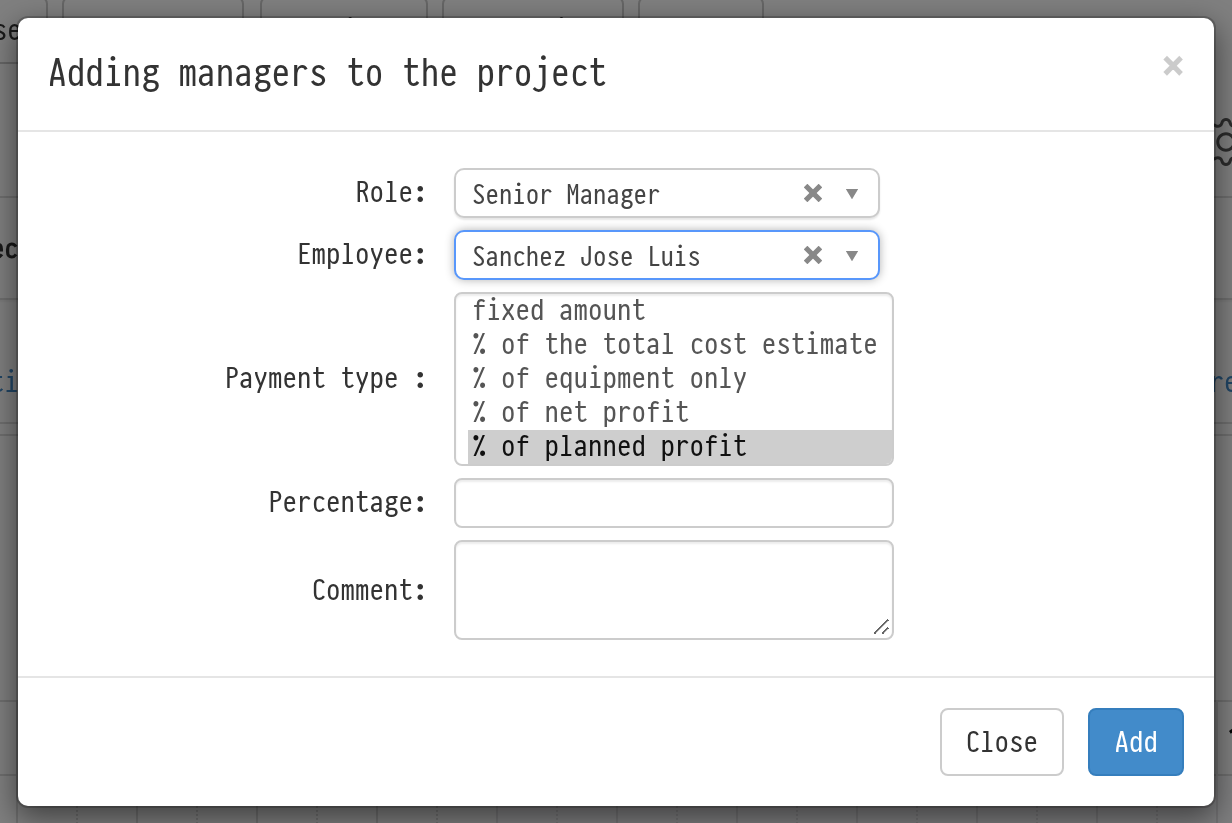
To add a manager, click the "add staff" icon in the table title of the "Project Managers" block. In the "Adding managers to the project" window, specify "Role", "Employee" and "Payment type". More about roles: Roles, tags, tag categories.
Payment types:
"fixed amount": the amount you enter yourself in the "Amount" field;
"% of the total cost estimate": a percentage of the estimate total. In the "Sheet" field you can select the estimate sheets to calculate the percentage from. If the field is empty, the percentage is calculated from the whole project;
"% of equipment only": a percentage of the equipment amount in the estimate only, also with a choice of sheets in the "Sheet" field;
"% of net profit": a percentage of the actual project profit: money received minus the expenses actually processed and tax;
"% of planned profit": a percentage of the profit the project is planned to bring: the estimate amount minus the planned expenses for staff, vehicles, sublease and other expenses, and minus tax.
"% of planned profit" is useful when you need to know the manager's bonus in advance. "% of net profit" is known only after all the money has been received and all expenses have been processed. The bonus from planned profit is calculated right away and is recalculated automatically when the estimate or the planned expenses change. If the planned profit is negative, the bonus is zero.
For percentage types, fill in the "Percentage" field. The calculated amount appears in the "Amount/Percentage" column and goes to the "Finance" tab, "Project Managers/Fines" block, as a planned expense.
Project tasks
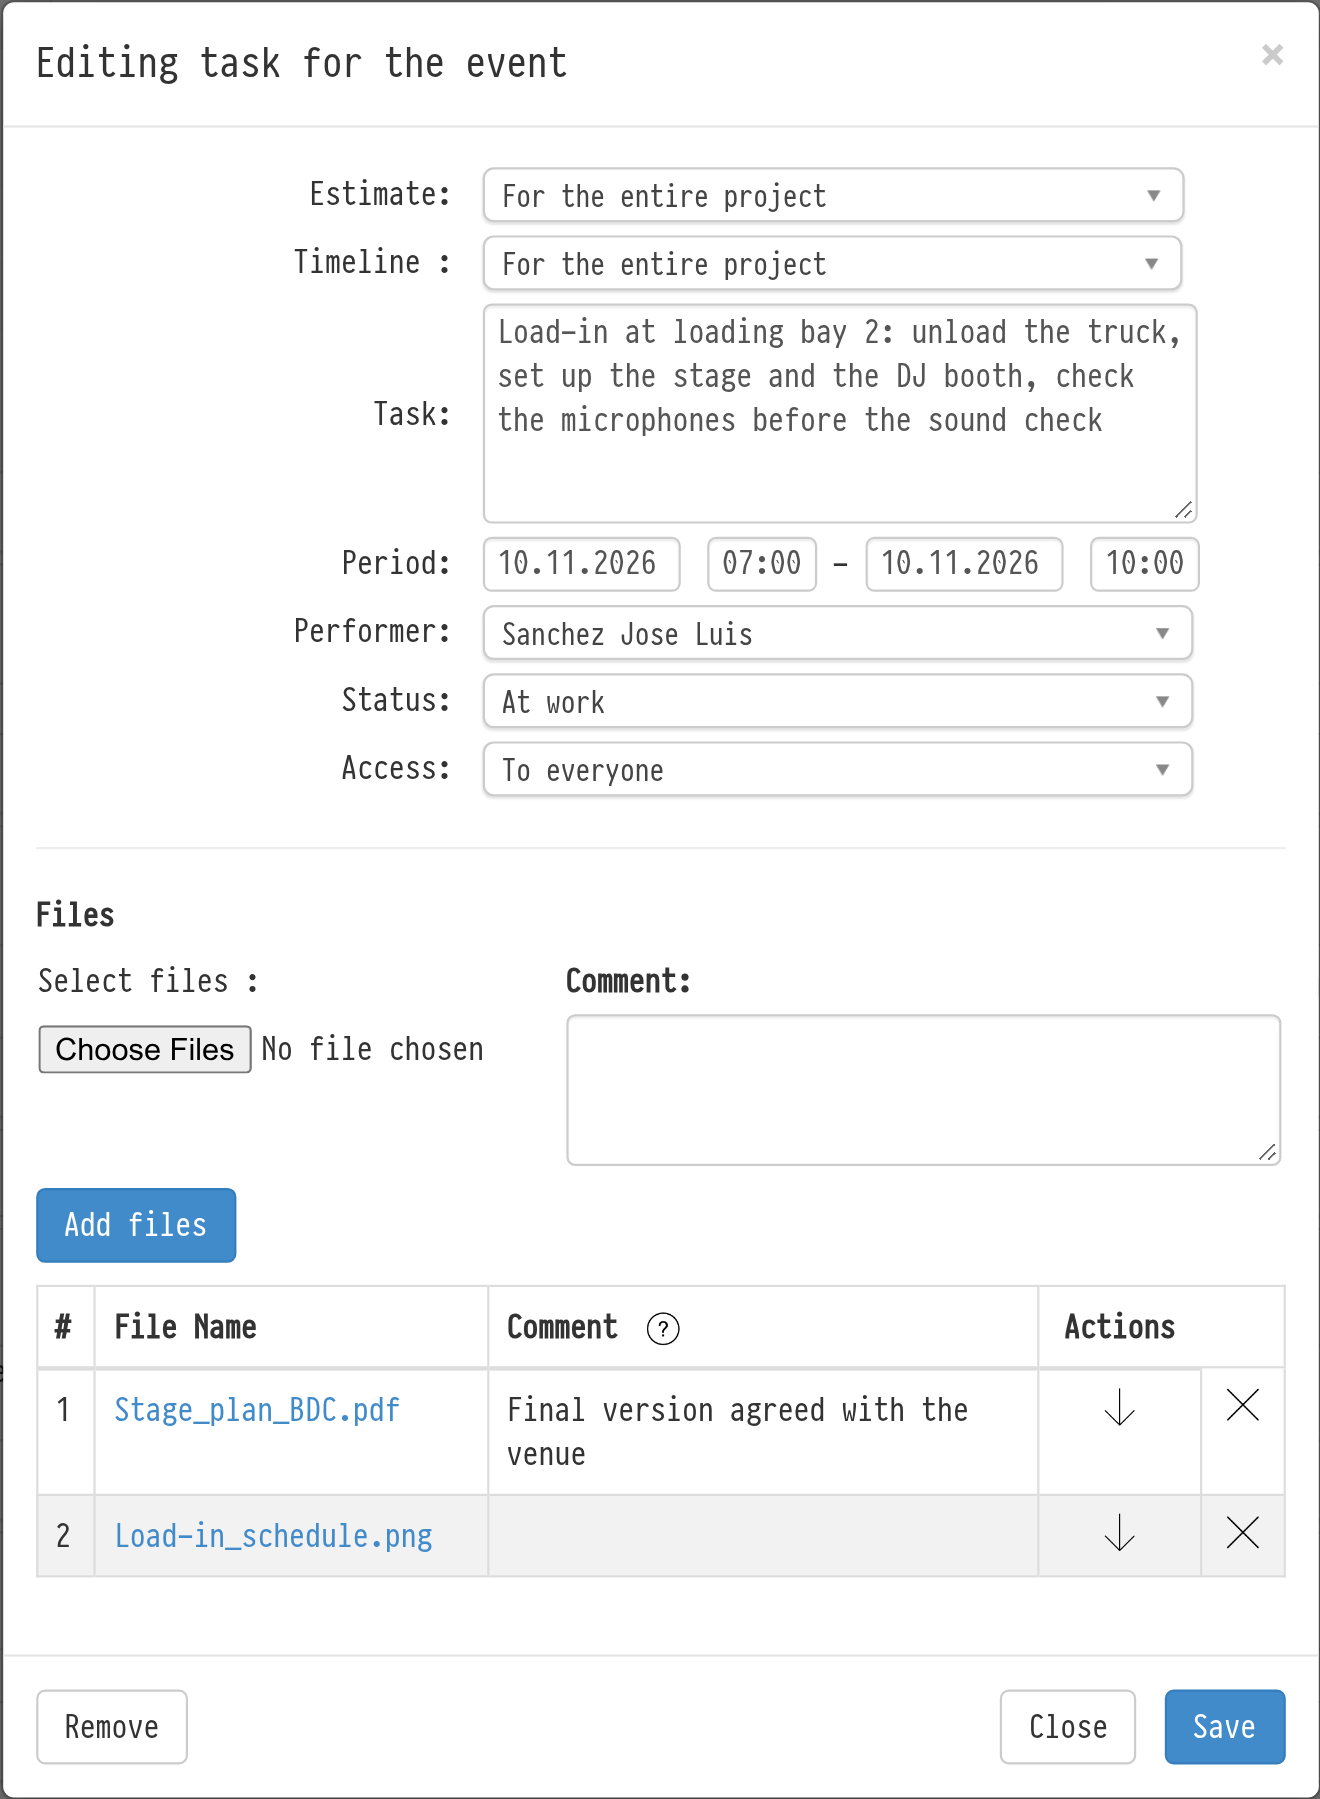
To add a task, click the "Adding the task for an event" icon in the table title of the "Tasks" block. In the window, specify the estimate sheet the task belongs to, the timeline phase, the task text, "Period" and "Performer". In the "Access" field, choose who can see the task: "To everyone" or "Only for the performer". The "Notify via email" checkbox sends the performer an email about the task right away.
The task table shows "Task", "Period", "Author", "Performer", "Status" ("At work", "Completed" or "Not Completed"), "Access" and "Notification" (when the last email was sent to the performer). The icons on the right of the row: send an email to the performer, edit, delete and task files.
Files in a task
You can attach files to a project task: a venue plan, a technical rider, photos, a contract. Before, this was possible only for tasks outside projects.
When creating a task: in the "Files" block of the window, click "Select files" and select one or more files. They appear in the table under the field.
For an existing task: open it for editing (pencil) and click "Add files". You can also delete a file here.
You can add a comment to a file: double-click the "Comment" field in the file table.
The folder icon at the end of the task row opens the "List of files for the event" window with all task files. If there are no files, the icon is pale, and the tooltip says "No files"; if there are, "Files are attached."
Please note. An employee with full access to tasks in the access template can add, edit and delete tasks. With "read-only" access, the employee sees tasks with "To everyone" access and their own tasks and can open them for editing.
All tasks from different projects are collected in the "Table" menu, "Project tasks" tab. See the TABLE MENU section.