Printed forms: how it works
A printed form is a document template that Golova uses to build the printed document for a project. It used to be called “Quotation” and was set up in separate blocks. Now all settings are in one place — the printed form editor — and the document itself can be broader than a quotation: for example, it can include payment details, so it can work as a pre-contract.
Where to find printed forms
Settings → System tab → Printed forms.
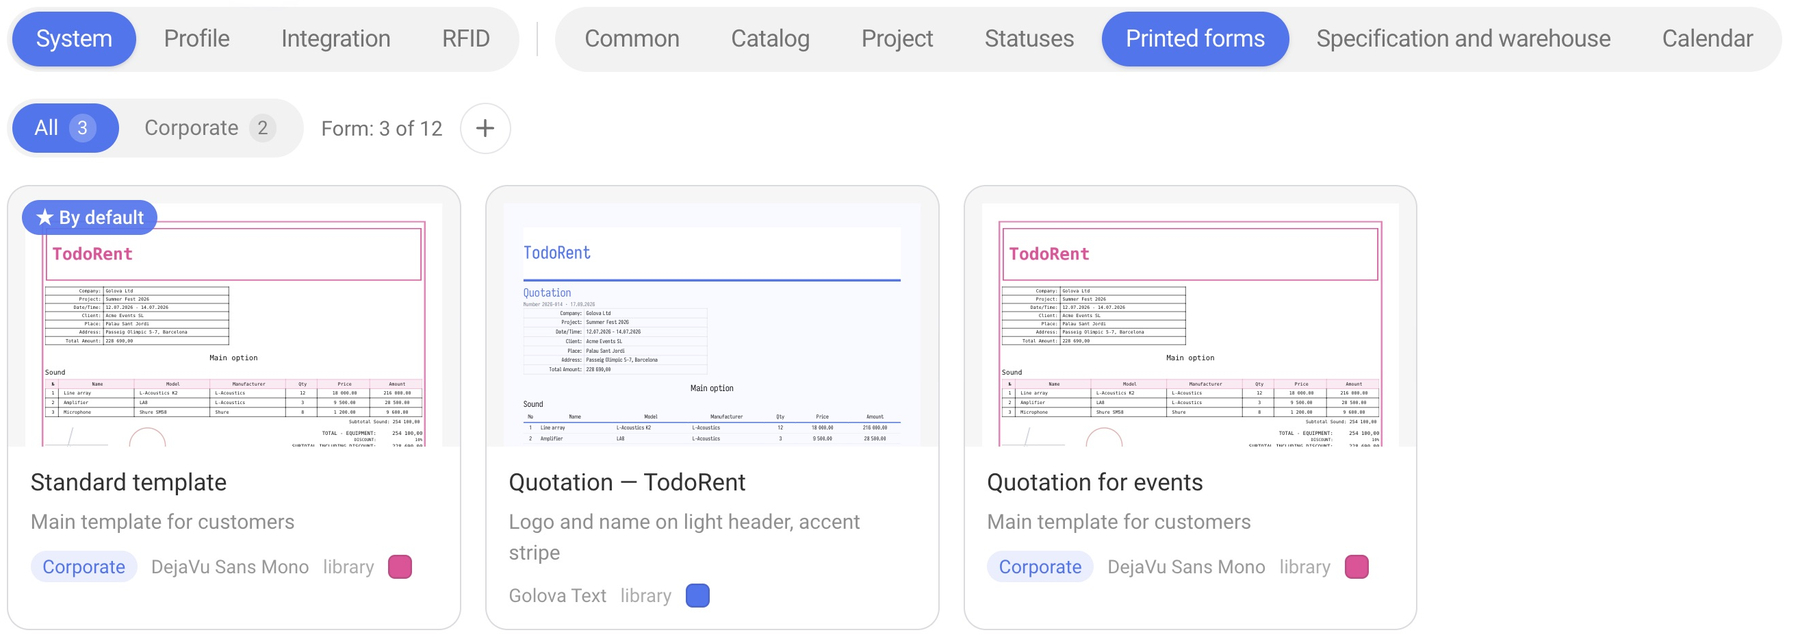
Form gallery
Each form is a card with a thumbnail of the document, the name, the font and the page orientation (portrait or landscape). A colored dot next to them shows the accent color of the form. The form that is set “By default” has a blue badge. If a form has a comment, it appears under the name; tags are shown as colored labels.
Above the gallery is the tag filter: “All” and one button per tag, with the number of forms next to it. When you have many forms, tags help you find the right one quickly. To learn how to add a tag, see the article “Document”.
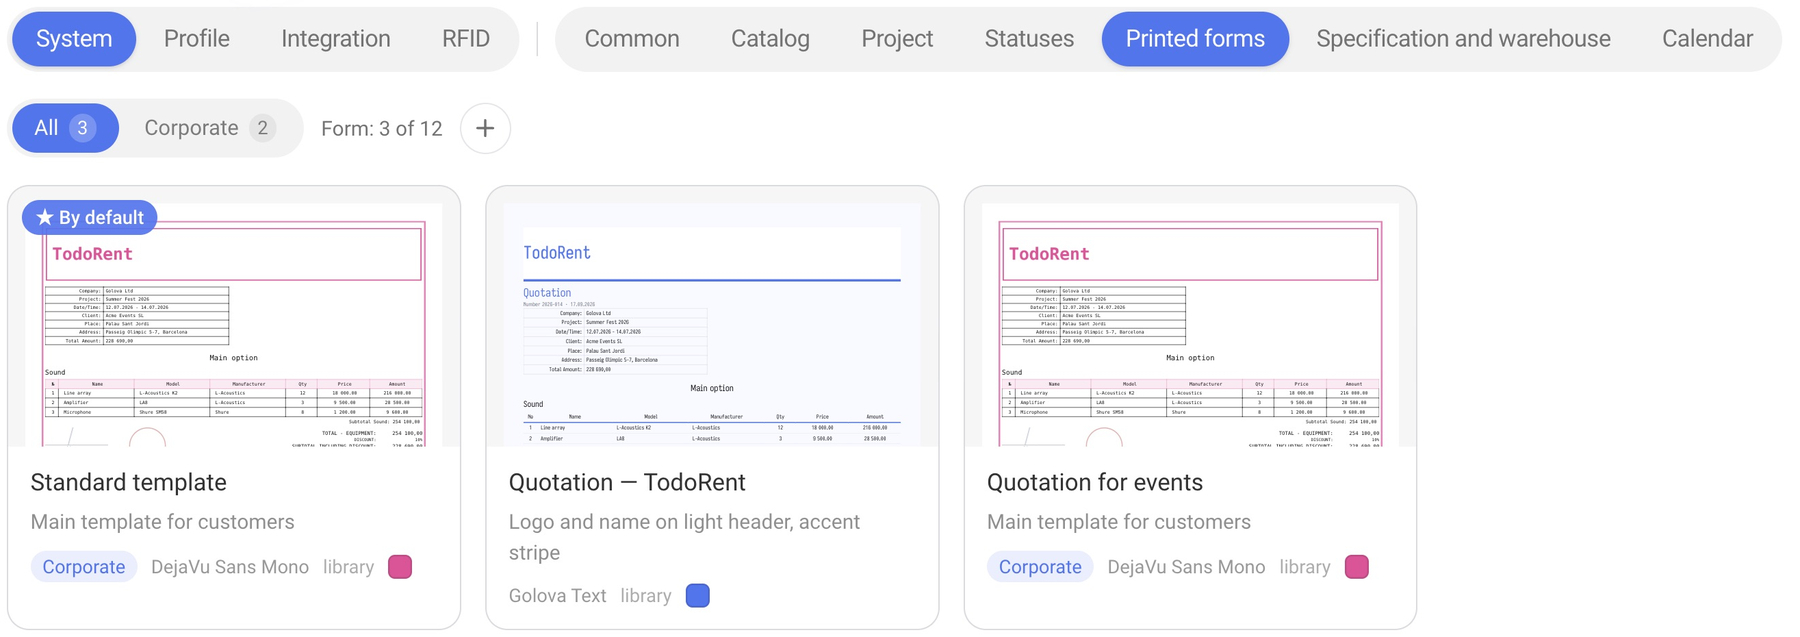
The “+” button creates a new form, and the magnifier icon on the right searches forms by name. Next to the “+” button, a counter such as “Form: 2 of 12” shows how many forms you have and how many your plan allows.
When you hover over a card, the “Duplicate” and “Remove” icons appear. A copy is the quickest way to make a variation of an existing form without touching the original.
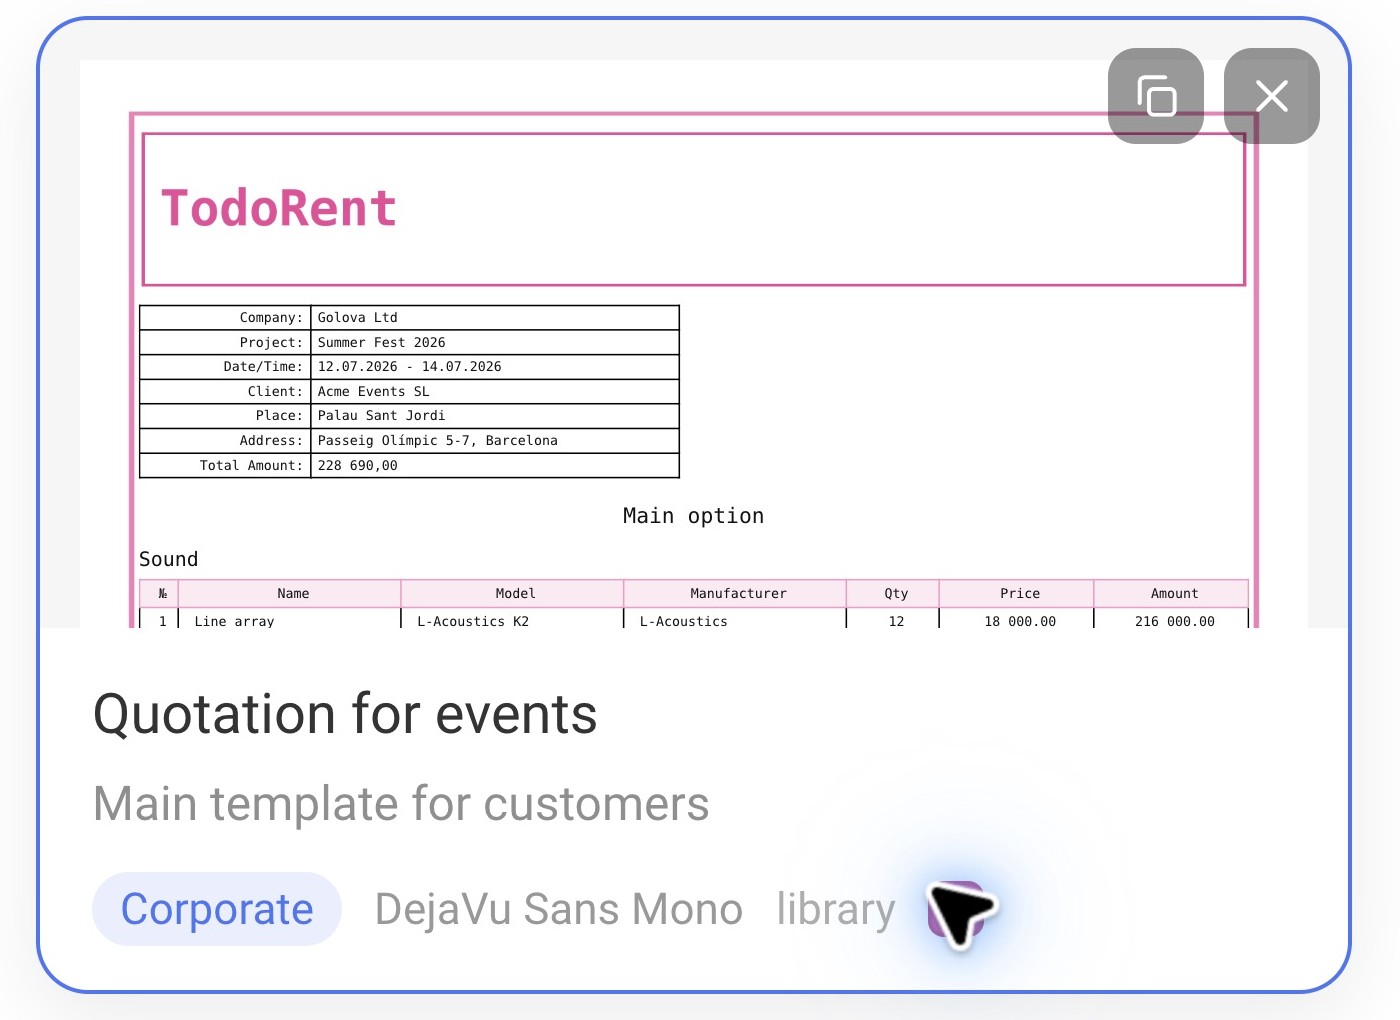
Click a card to open the editor.
How a form gets into a project
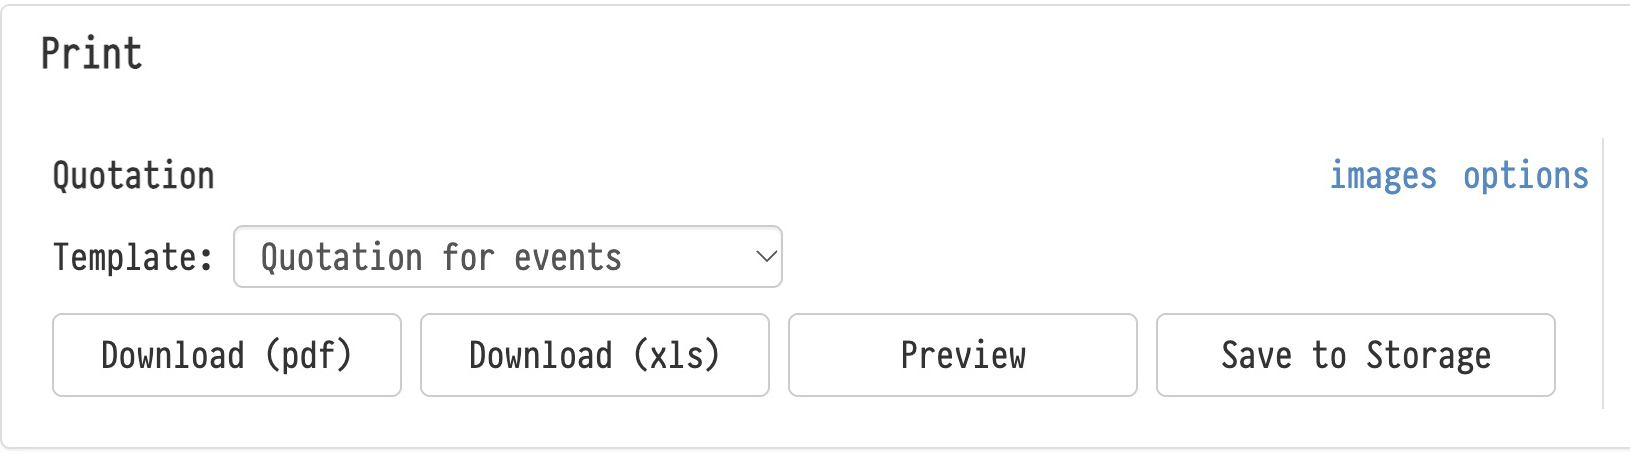
In a project, you choose a form on the Estimate tab, in the Print block (inside the block it is still labeled “Quotation”). The “Template” list contains all your printed forms, and the one marked “By default” is selected at first. Next to it are the buttons “Download (pdf)”, “Download (xls)”, “Preview” and “Save to Storage”.
It is important to understand how a project is linked to a form:
Appearance (colors, fonts, table, blocks, columns, captions, pictures) is taken from the form every time you print. If you change the form, the new appearance shows up in the next document of any project that uses it.
The “What to print” set (which header fields, columns and totals to print) is copied into the project at the moment you choose the form in the “Template” list. After that, the project has its own set, and changes to the form do not reach it. You can change the project’s own set with the “options” link next to the block title — it does not affect the form.
Please note. To pull changes of the “What to print” set into a project, choose another form in the “Template” list and then go back to the one you need — the set will be copied again. Choosing the same form again changes nothing.
The editor window
The editor opens on top of the gallery. On the right is a live preview of the first page of the PDF; it updates as soon as you change a setting. On the left are seven tabs:
Appearance — how the document looks;
Document — tags, heading, file name, saving to Storage, engine, comment;
Content — title page, QR code, company details, stamp and signature, the “What to print” set;
Blocks — free text before or after the table;
Columns — columns of the equipment and services tables;
Captions — renaming any label in the document;
Files — header, background, footer, title page photo and PDF appendices.
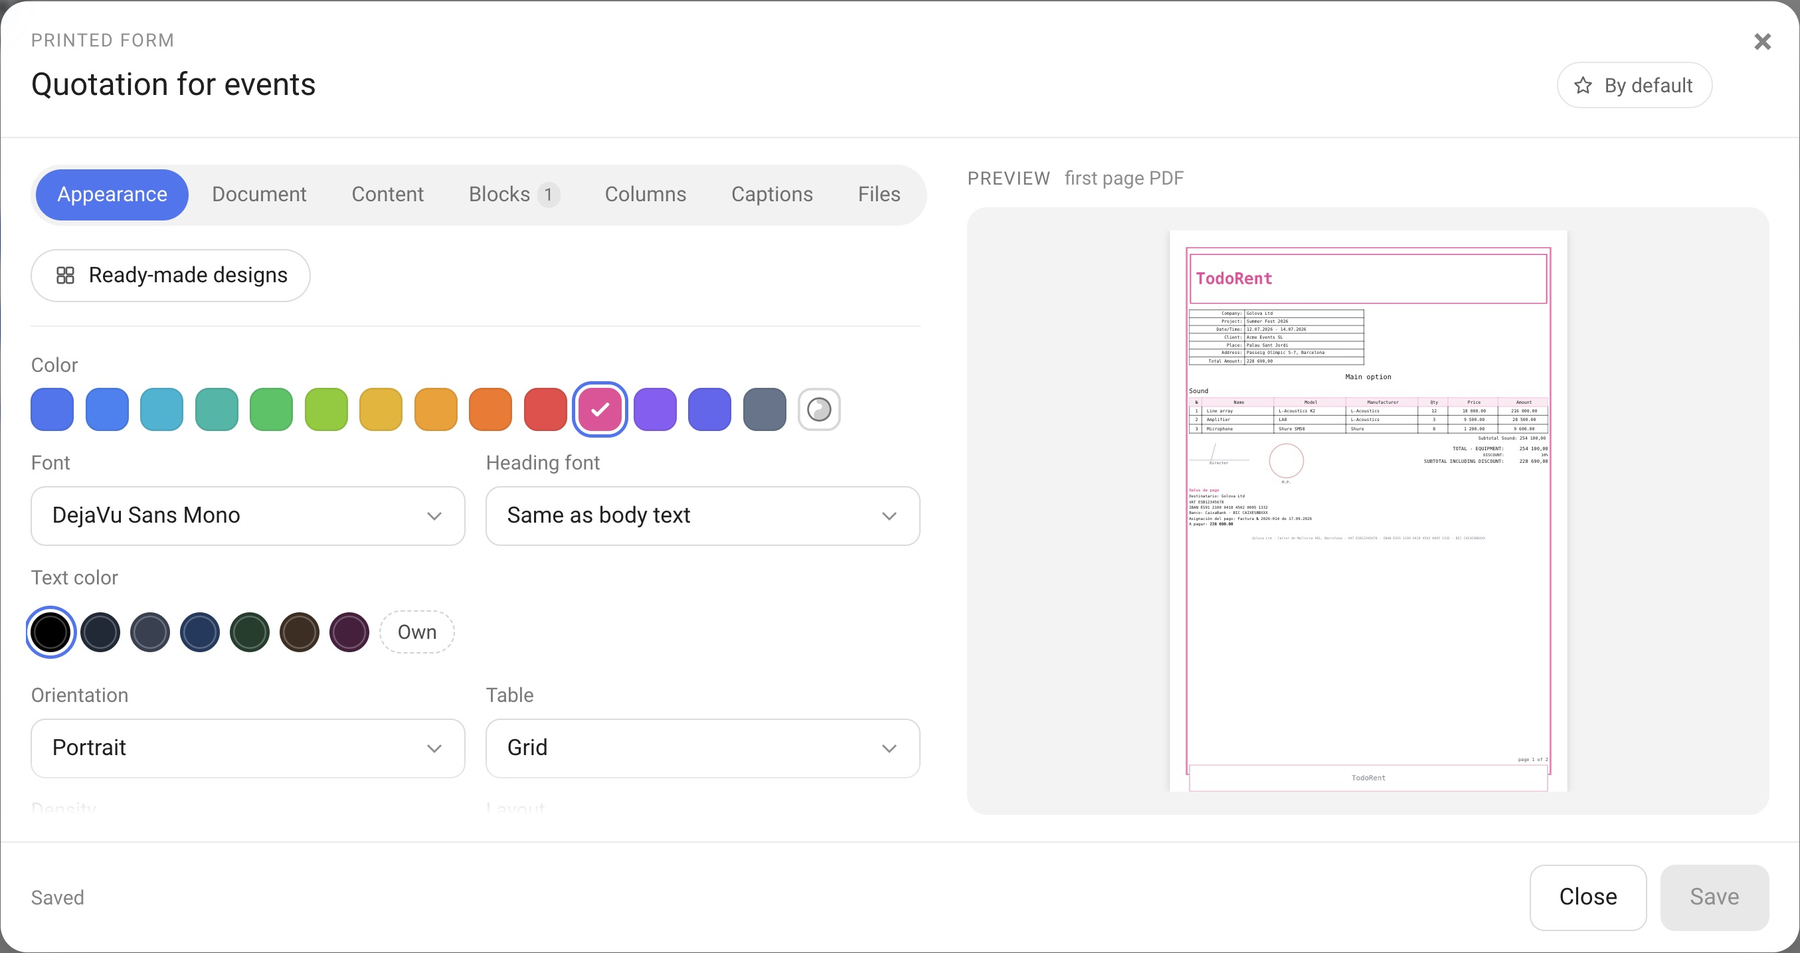
You can rename a form right in the window title: click it and type a new name. The “By default” button makes the form the default one. The status at the bottom of the window shows “Saved” or “There are unsaved changes”. Click “Save” to apply your changes.
Each tab is described in a separate article of this section.