Scanner
The "Scanner" helps you find out in seconds what unit of equipment you are holding in the warehouse: scan the code, and the SKU card opens with the photo, storage place and state. The scanner is not linked to a project and does not ship or receive anything: for that, use the "Warehouse" tab of the project and the mass return.
Where to find it
In the top menu, open "Warehouse" → "Scanner". The page is convenient on a phone, a tablet or a handheld terminal with a built-in scanner.
The item is visible to employees who have access to the warehouse and the catalog: in the access template, "show" for the "Warehouse" block on the "Project" tab and "show" for the "Module" row on the "Catalog" tab.
In the mobile app, the same function is on the "Information" page, see Information.
Search methods
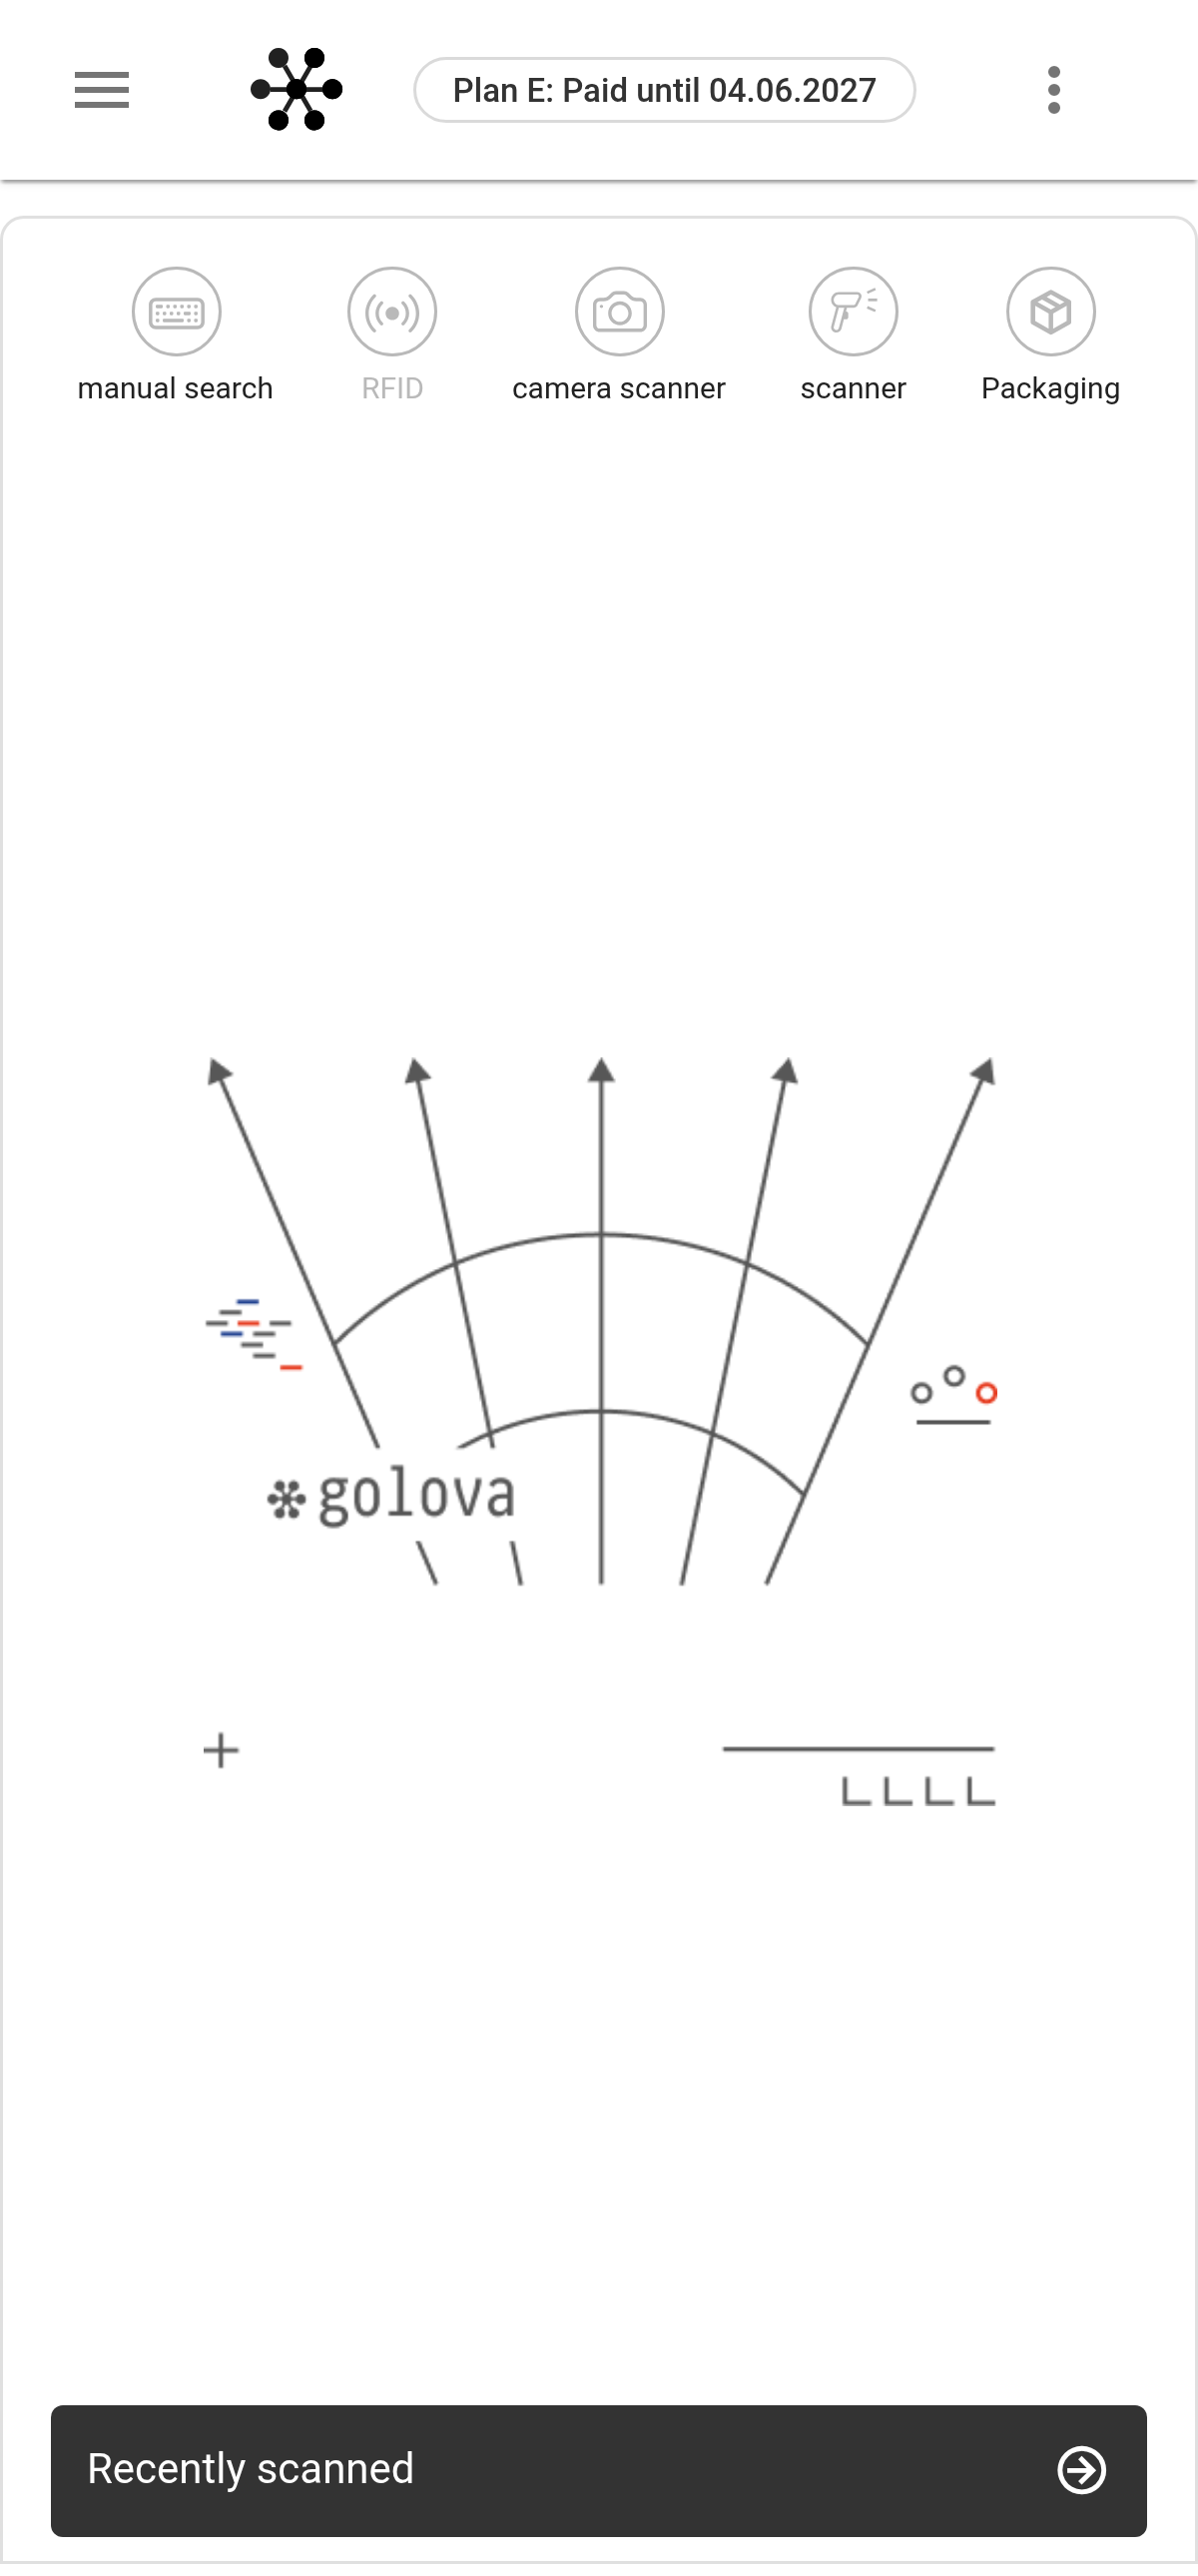
There are five buttons at the top of the page:
"manual search" (keyboard): enter the SKU number if the unit has no code or it cannot be read. If there is no such SKU, a "not found" message appears.
"RFID": works if you have an RFID device: a handheld terminal with an RFID module or readers on the warehouse gates. Otherwise the button is grey. Clicking it opens the settings: for a handheld terminal, "Antenna power" and "Volume"; for gates, the power of each antenna and the "Enable" / "Disable" button. When the antenna is on, just bring the tag close.
"camera scanner": point the phone camera at the barcode or QR code.
"scanner": an external barcode scanner, for example via Bluetooth. In the "Scanner settings" window, click "Enable" and scan when "Equipment is ready. You can start scanning" appears.
"Packaging": list the contents of a case or box with RFID antennas, see below.
SKU card
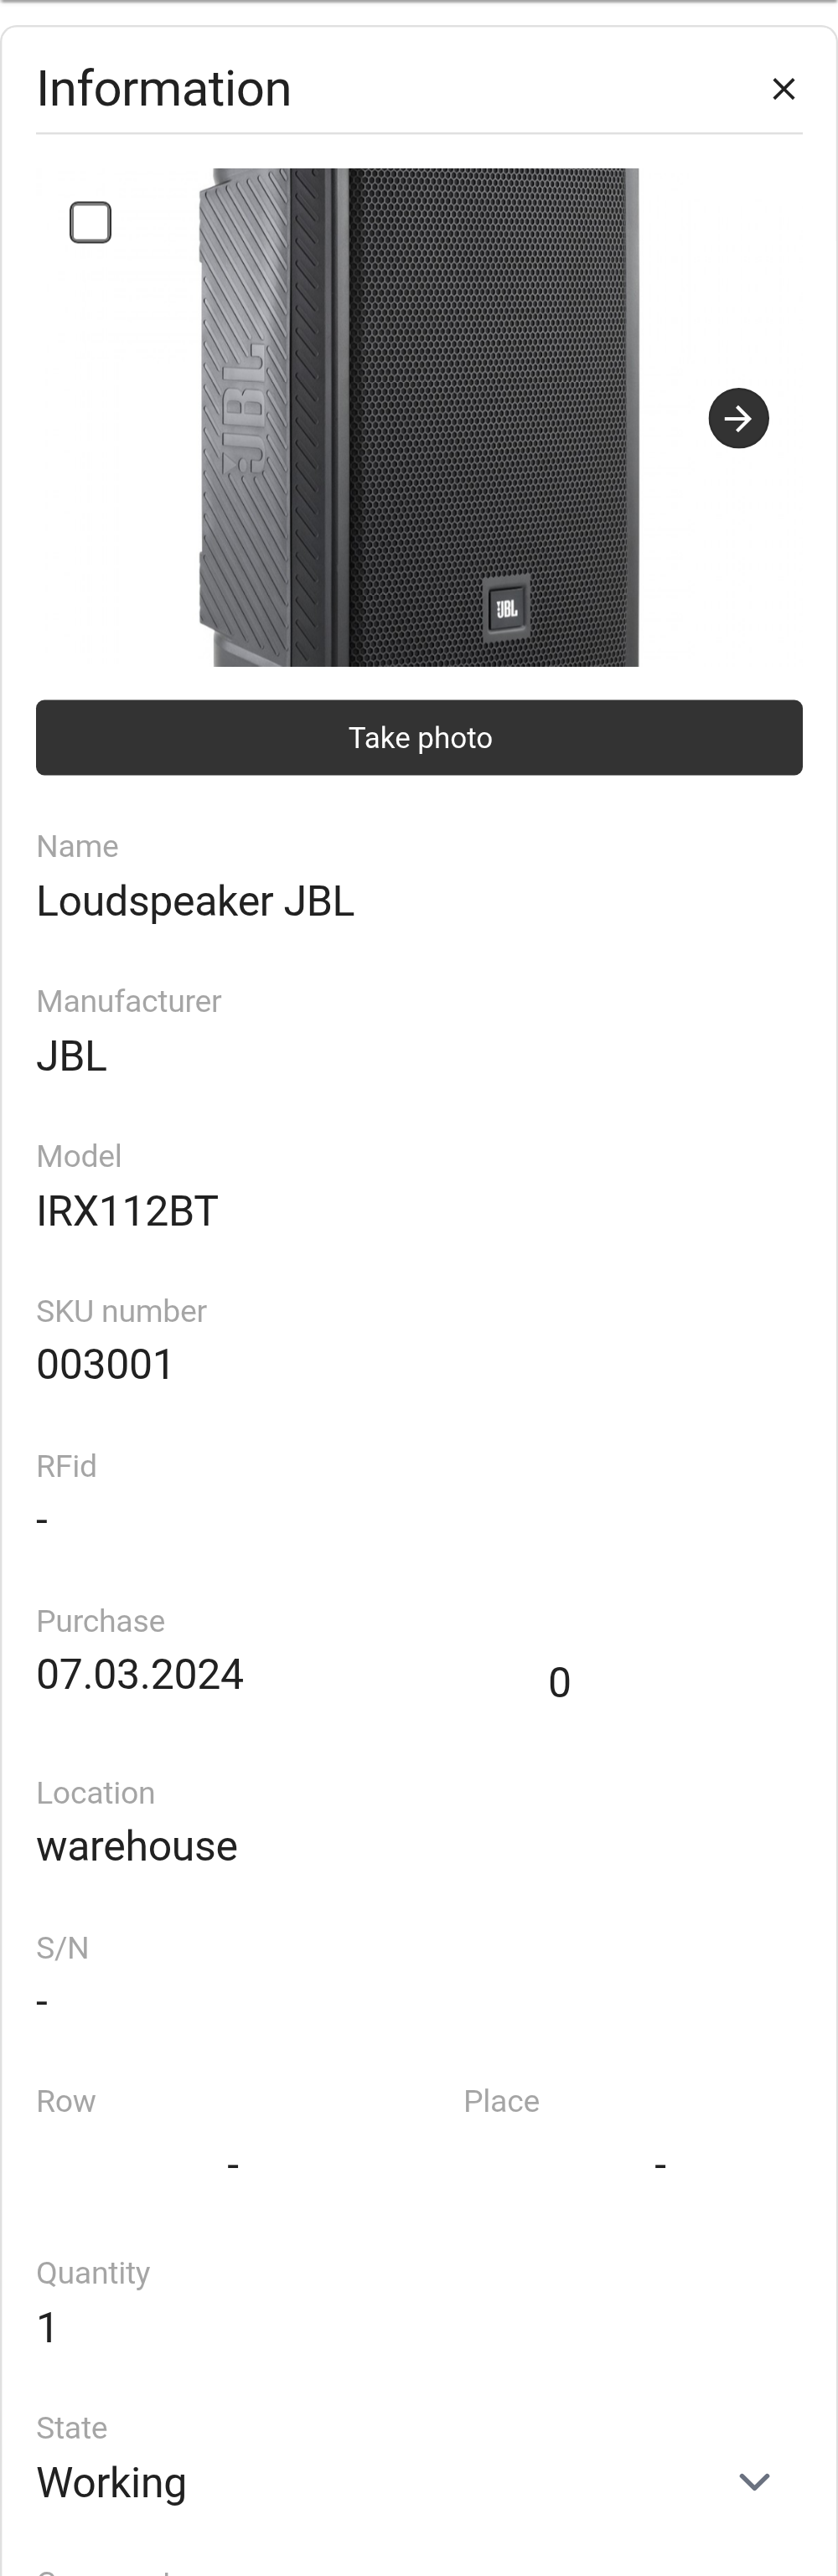
After scanning, the SKU card opens:
photos. The "Take photo" button adds a picture from the camera, the delete button removes the selected photos;
"Name", "Manufacturer", "Model" and the SKU number;
"RFid": the main RFID tag of the SKU; if there are several tags, the others are shown in the "Additional tags" row (they are edited in the catalog);
"Purchase": purchase date and price, view only. The price is not visible to employees for whom catalog prices are hidden;
"Location": where the unit is now;
"S/N", "Row", bin ("Place"), "Quantity", "State";
"Comment";
"Parameters": width, height, depth, power, weight and current.
Changes are saved as soon as you change a field, and "Successfully updated!" appears. Employees with full access to the catalog can edit the card; for others the fields are view only.
To link an RFID tag to a SKU, open its card and scan one tag with the RFID device. The system asks "Assign a scanned RFID to this item?". Confirm, and a message that the RFID has been assigned to the SKU appears.
Recently scanned
The "Recently scanned" link at the bottom of the page opens the list of the last units you scanned: photo, name and SKU number. Tap a row to open the card again.
Scanning packaging
The "Packaging" button helps you find out what is inside a closed case without opening it, or check whether the tags can be read. Nothing is moved or recorded.
In the "Scan container" window, tick the antennas the case has been brought to. Gates are labelled "Gate".
Click "Start". The list fills up as the tags are read.
Click "Stop" when the list stops changing. "Reset" clears the result.
At the top you see how many units were found and how many tags are "not in the catalog". If a unit has several tags, you see how many of them were read, for example "2 of 3 tags". At the top of the list are tags not from the catalog and the units read the fewest times: check them.
Please note. If no readers are connected, the window says "Receivers are not configured". They are connected in the settings: gear "Settings" → "System" → "RFID".