Calendar interface
The calendar is the first item in the main menu. It is the home screen of the system: here you see all the company projects for the selected period, and from here you create new events. How to switch periods and views — see Display modes.
Switching on Calendar 2.0
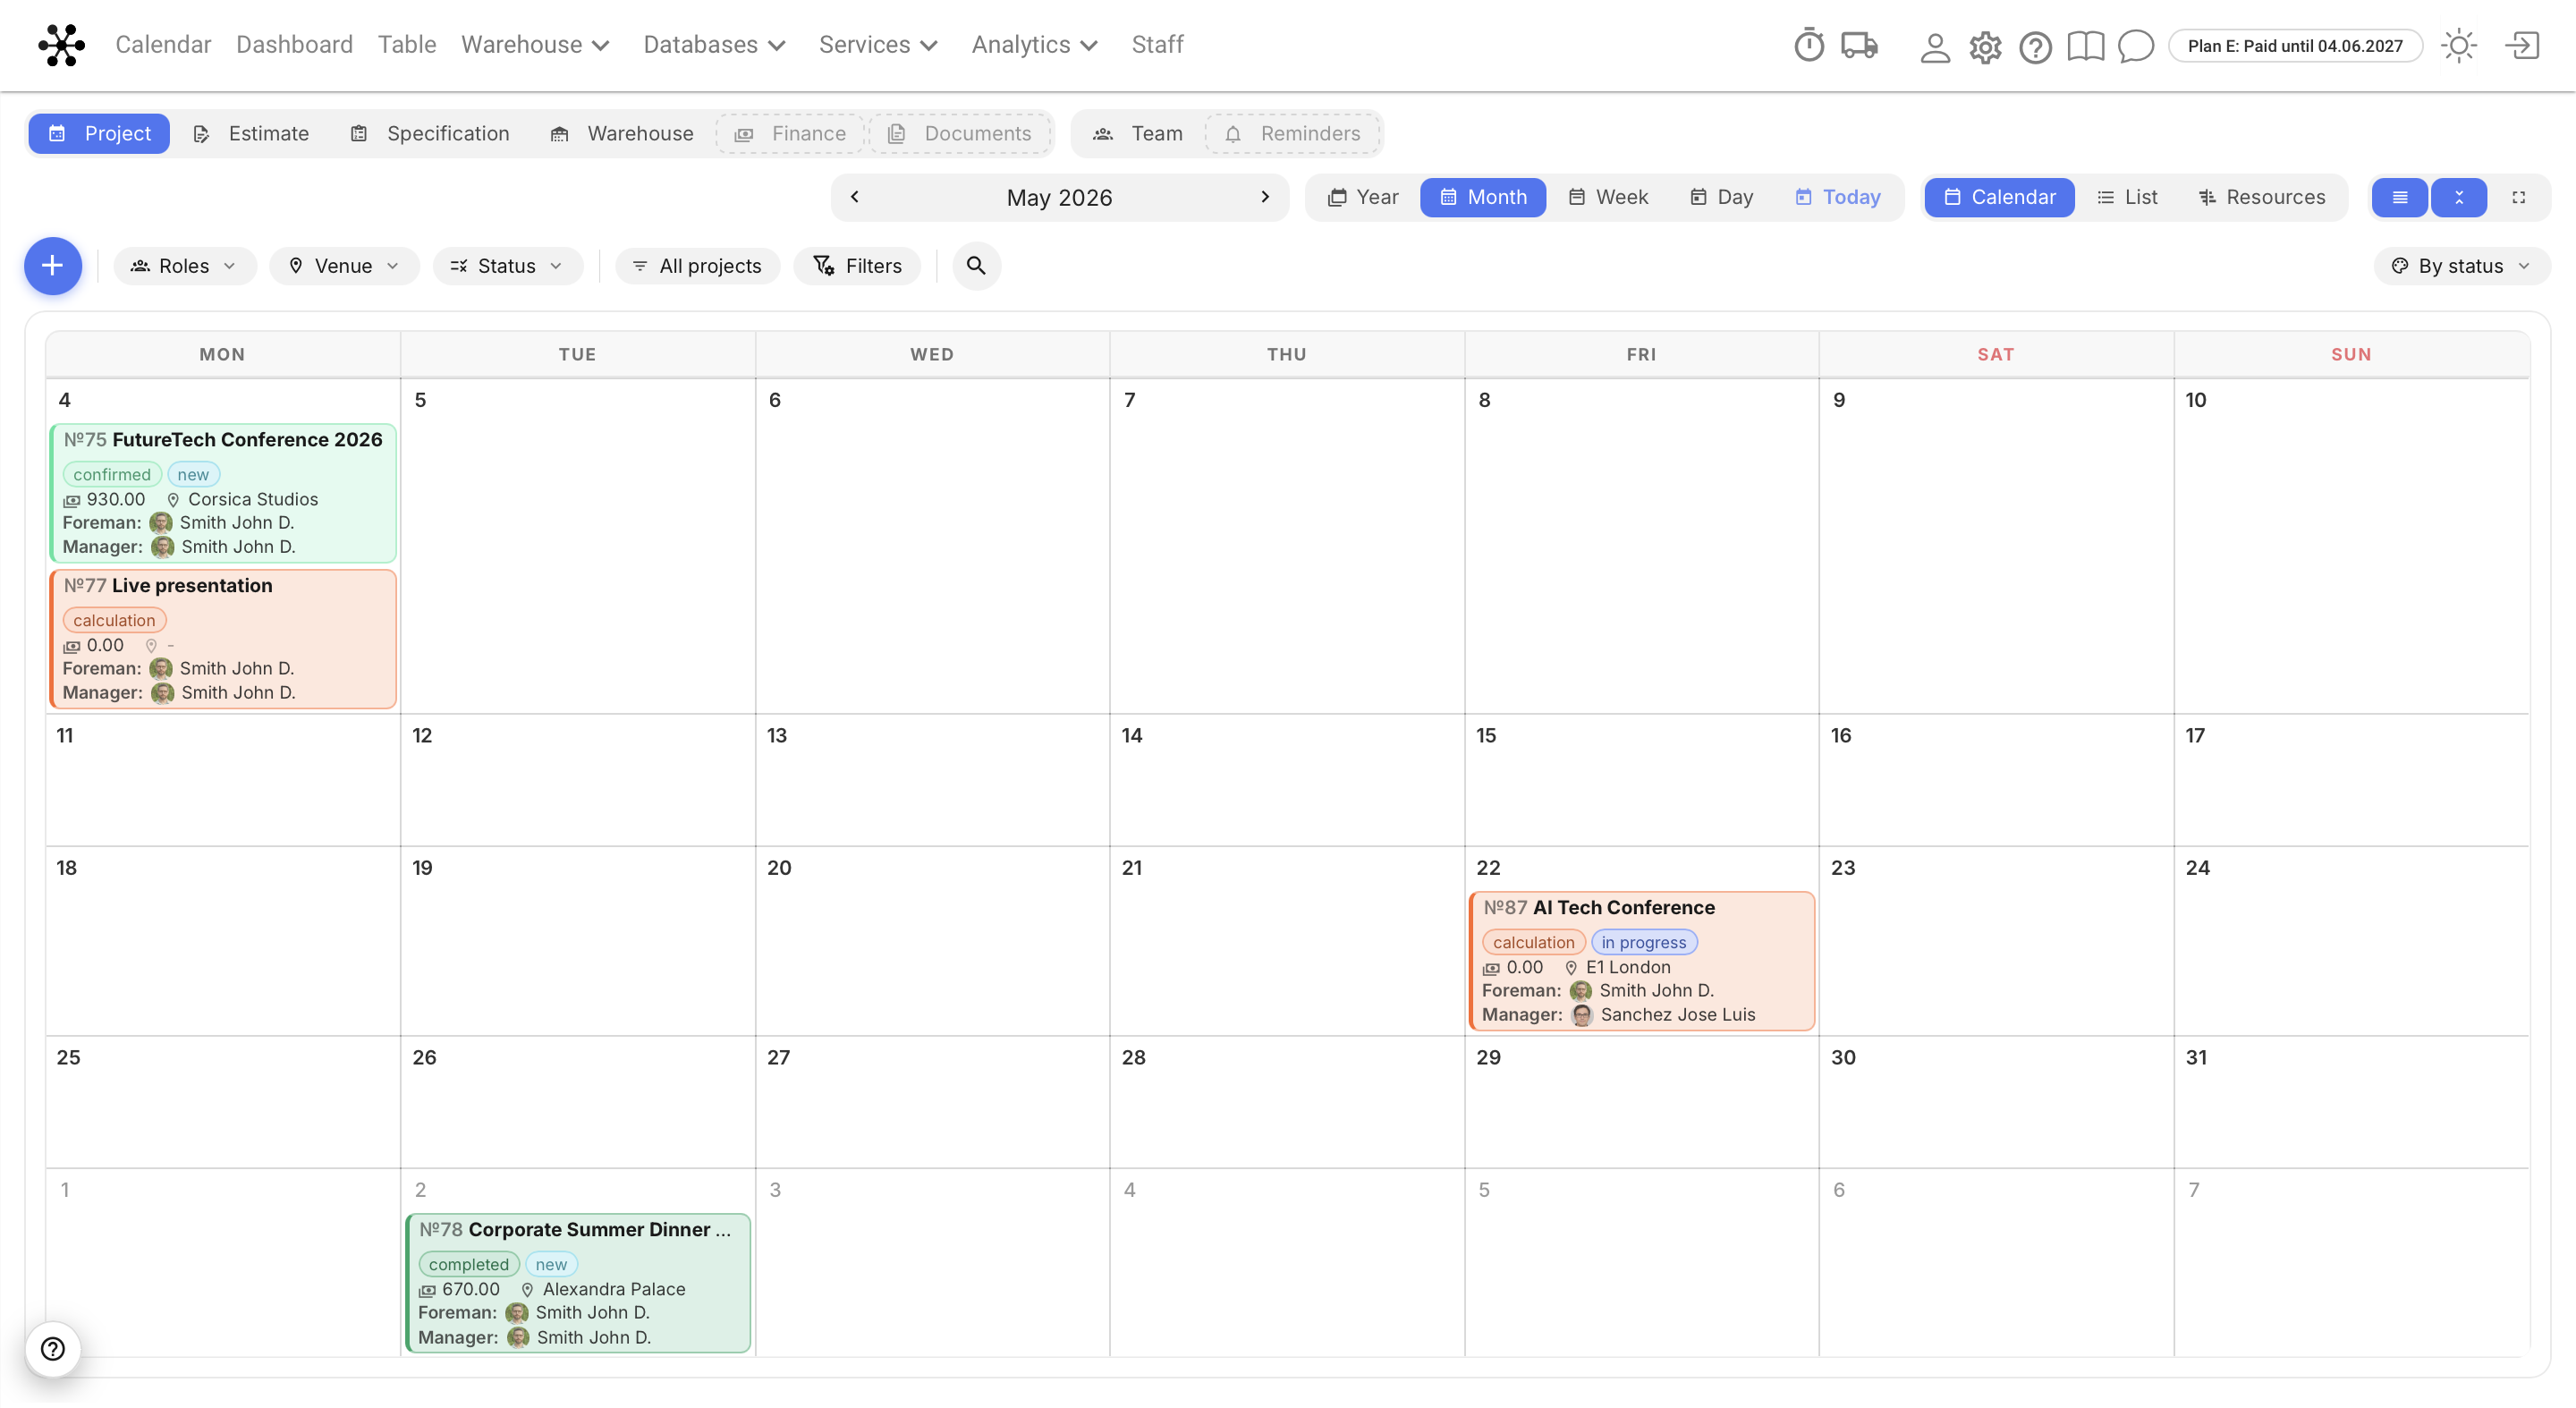
Each user switches to the new calendar in their own settings: click the person icon in the top bar to open Personal account, go to the Settings tab and, in the Calendar - projects block, choose Calendar 2.0 in the Calendar version field. Then click Save.
Colour scheme tabs
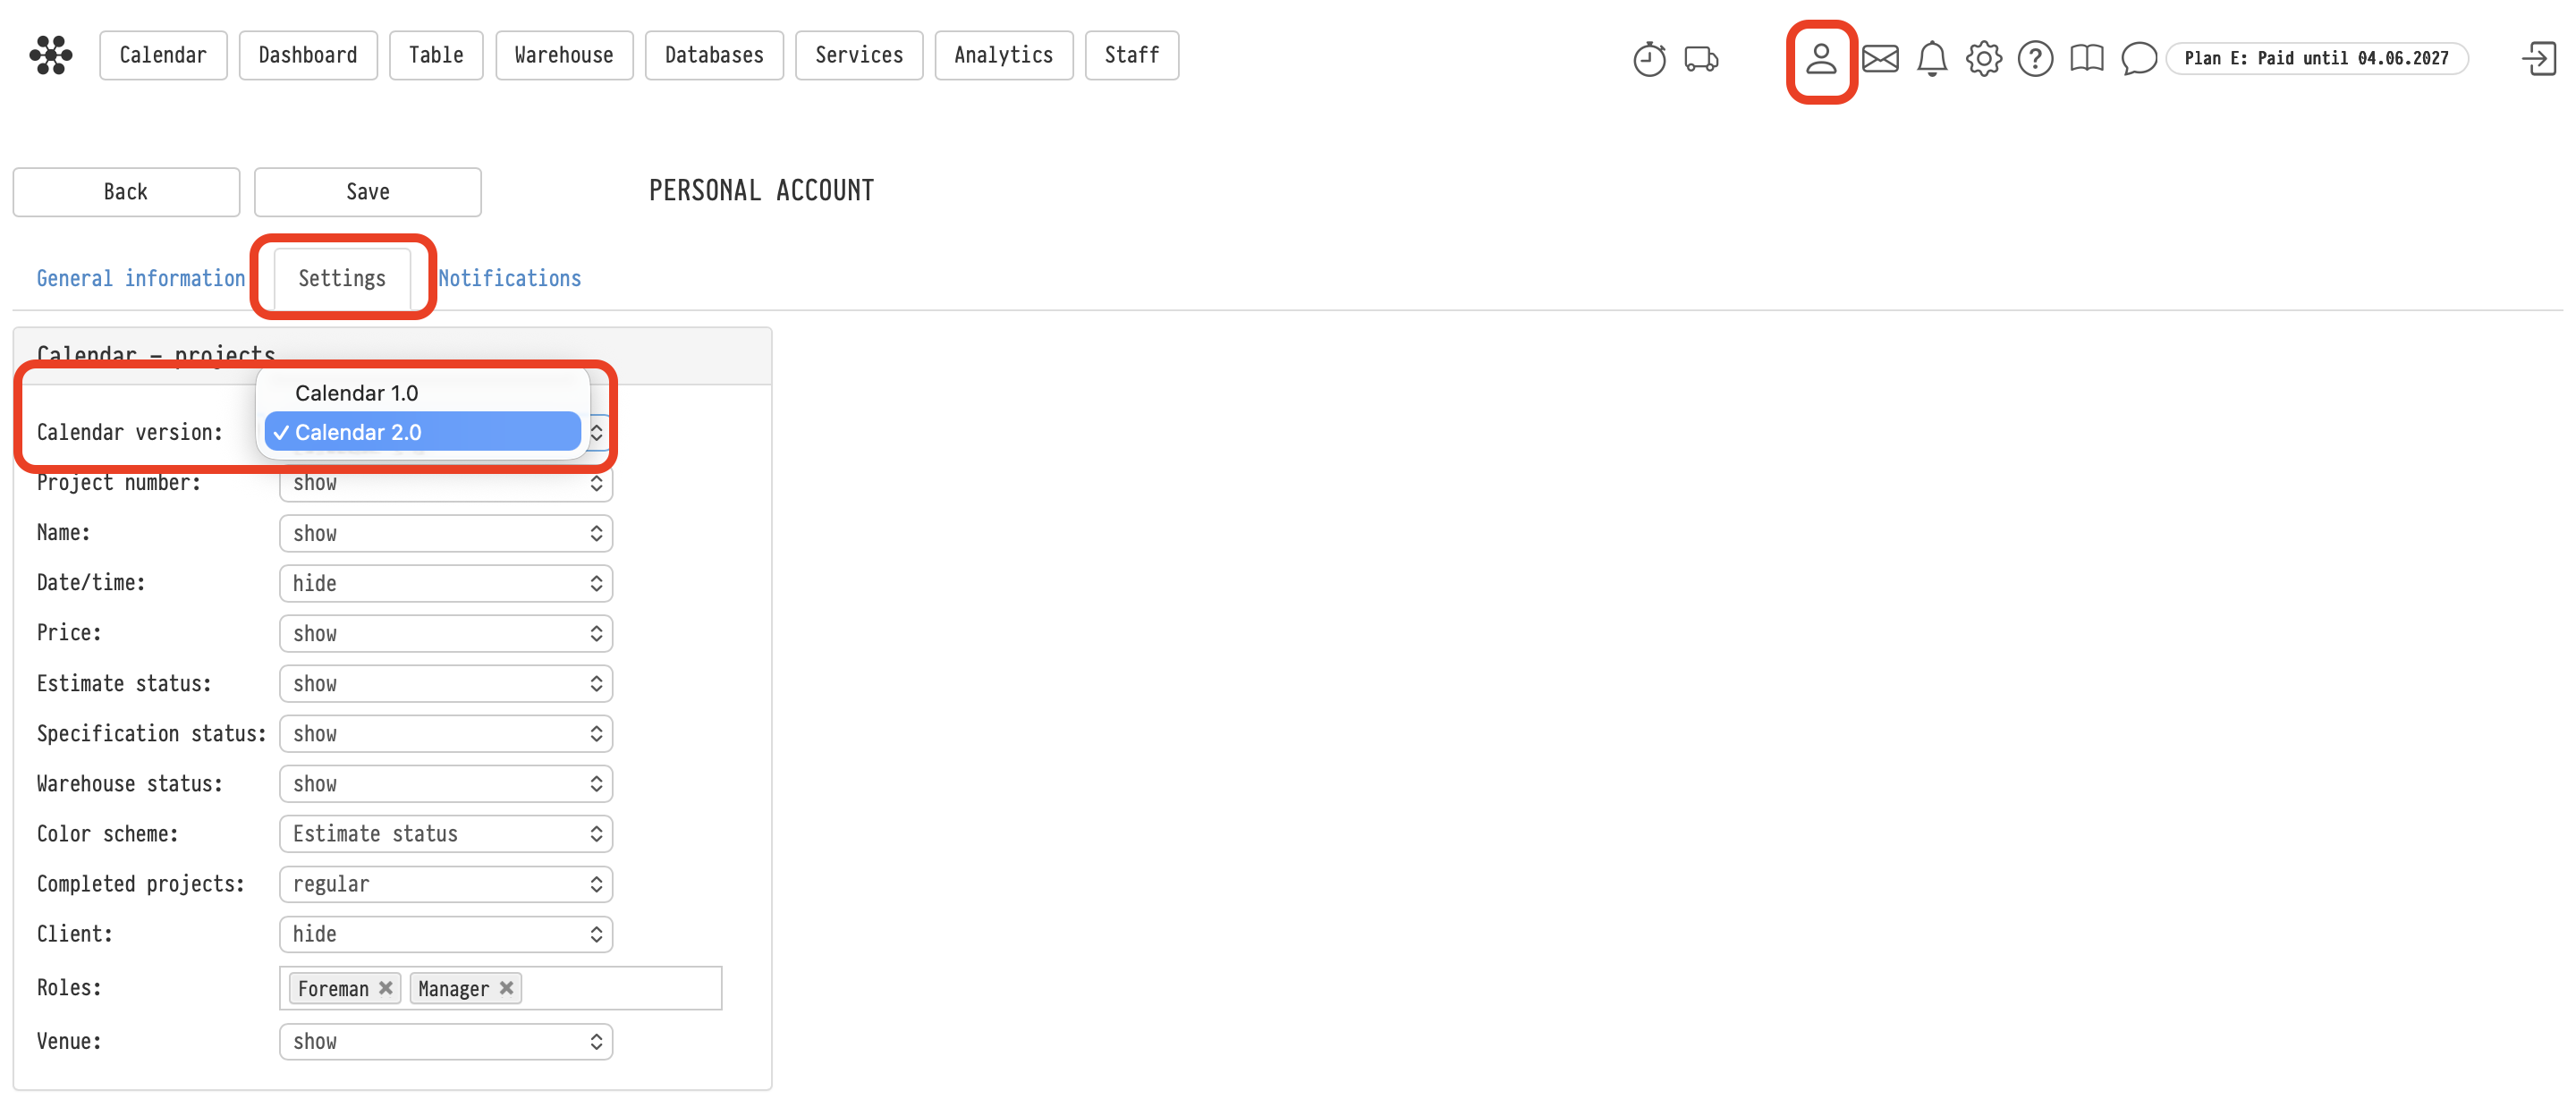
The top row of tabs switches the colours the projects are shown in.

Project — your own view. The colour scheme and the data on the tiles come from your personal settings.
Estimate, Specification, Warehouse — the calendar is coloured by the statuses of the matching section, regardless of your personal settings.
Previously the calendar view was fixed by the access template: an employee with no access to the estimate always saw specification statuses. Now the scheme can be switched at any moment.
The Finance, Documentation and Reminders tabs are not active yet — they are groundwork for the next versions.
The Team tab
This tab collects the events that are not tied to projects: Schedule, Vacations, Tasks, Vehicles and Timer. Each type is switched on and off separately, and the number of events is shown next to its name.
The Projects button brings projects into the same view — useful when you need to see how schedules, vacations and tasks overlap with project work. The Performer filter leaves the events of one employee only.
The project tile
The tile shows the project number and name, the statuses, the amount, the venue, the client and the responsible persons. What exactly is shown is configured individually.
Hover — a tooltip with the duration, the amount and the responsible persons.
Left click — opens the project.
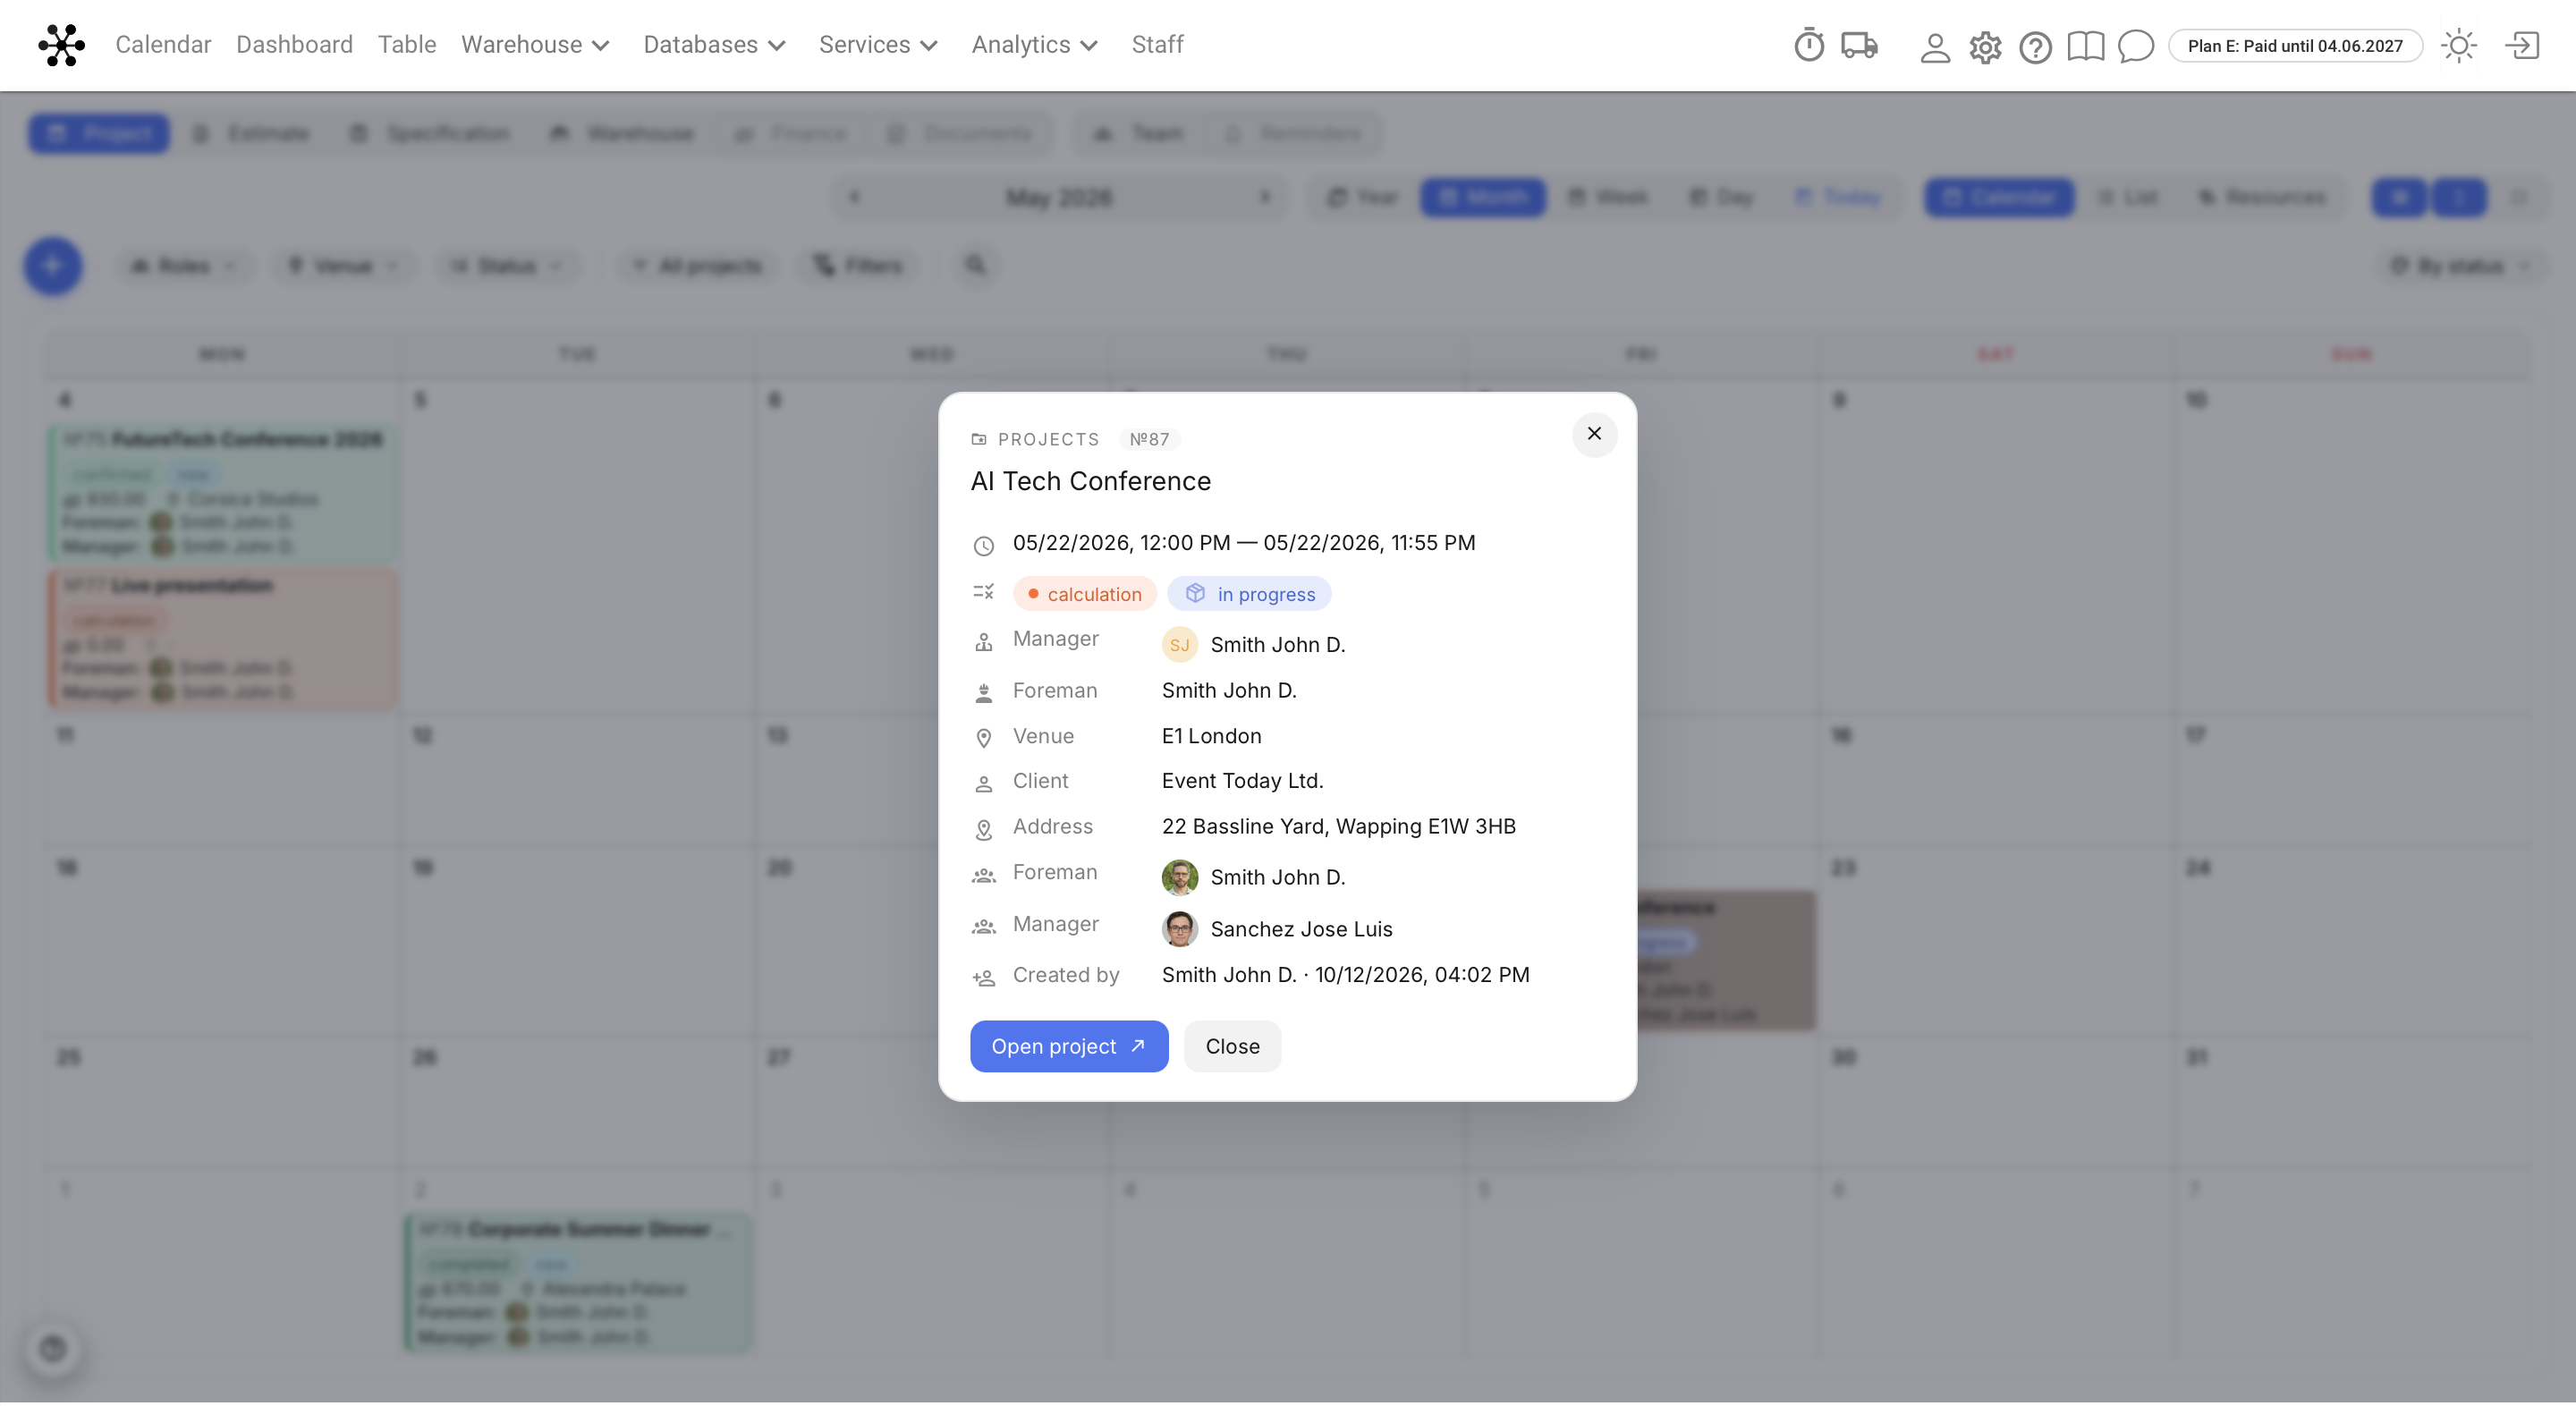
Right click — opens the preview: number and name, start and end dates, the three statuses, all responsible roles, and the author of the project with the creation date. The Open project button takes you to the project card.
Creating events
Click an empty spot in the day you need — the creation menu appears: a project, a project from the warehouse, a task, a shift (schedule), a vacation, a timer and a trip. The timer and the trip used to be started only from other sections.
The plus button on the left opens the same menu, but the event is created for today.
What the menu contains depends on the access template: if an employee has no rights to tasks, trips or the timer, those items are simply not there.