Adding employees
Go to the "Employees" database ("Databases" → "Employees").
On the page that opens, click the "Add an employee" button.
Fill in the employee's full name, and then click "Add".
A page opens where you can specify detailed information about the employee.
On the left, you can add an account (see Adding Users), tags (see Roles, tags, tag categories), and in the "Graphic information" block, a signature in .png format (without background), which can be used in documents.
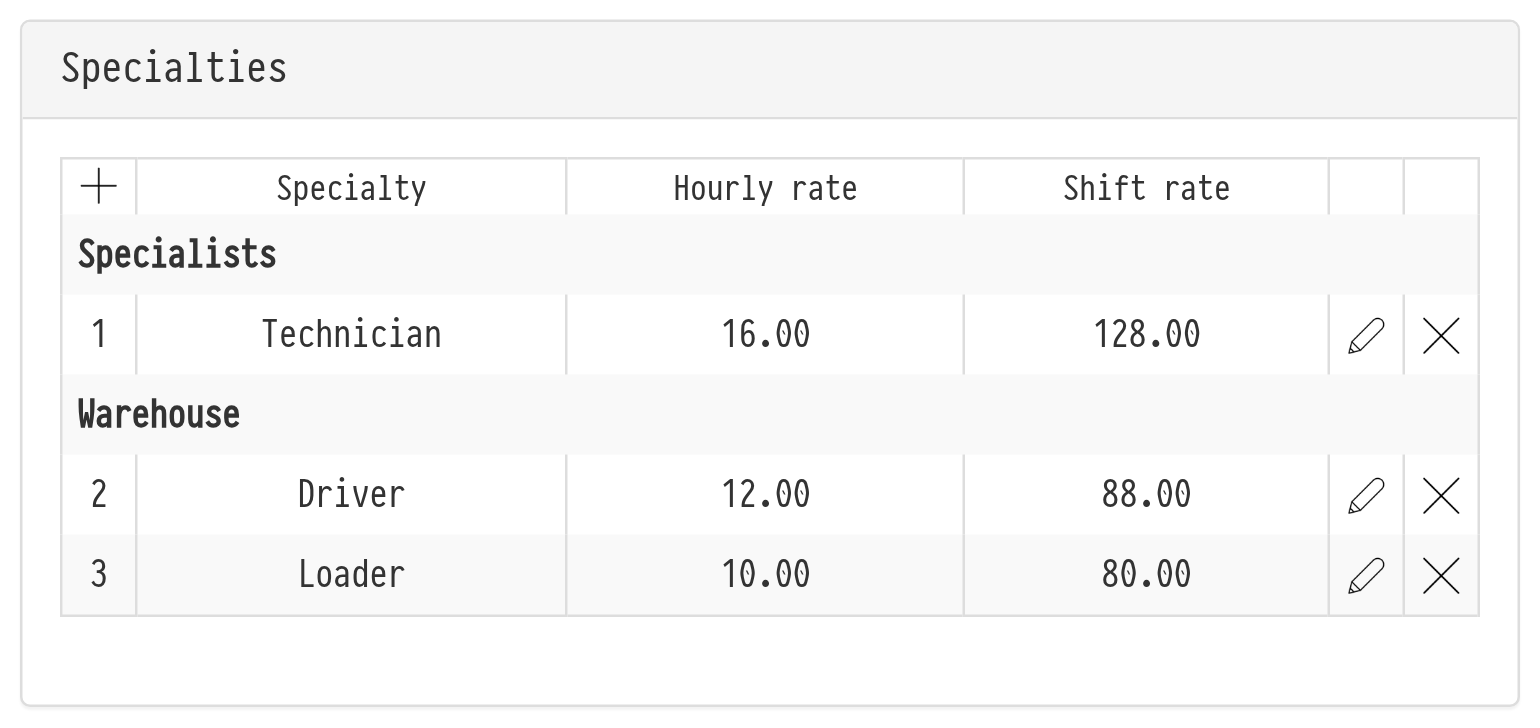
In the right column, specify the contact information. In the "Specialties" block, you can select the specialties of this employee and the rates they work for (see Specialties).
Example. Javier Moreno works as a technician and a driver. These specialties are in his card with the rates: as a driver he gets €20 per hour and €110 per shift, as a technician €25 per hour and €150 per shift. If Javier is assigned to a project only as a driver, the system calculates his costs by the driver's rate. If he is added as a technician, the calculation changes accordingly.
Employee e-mail
The employee's e-mail addresses are entered in the "E-mail" block of the card. Before, only the employee could set the address for notifications, in their personal account. Now an administrator can also do it in the "Employees" database.
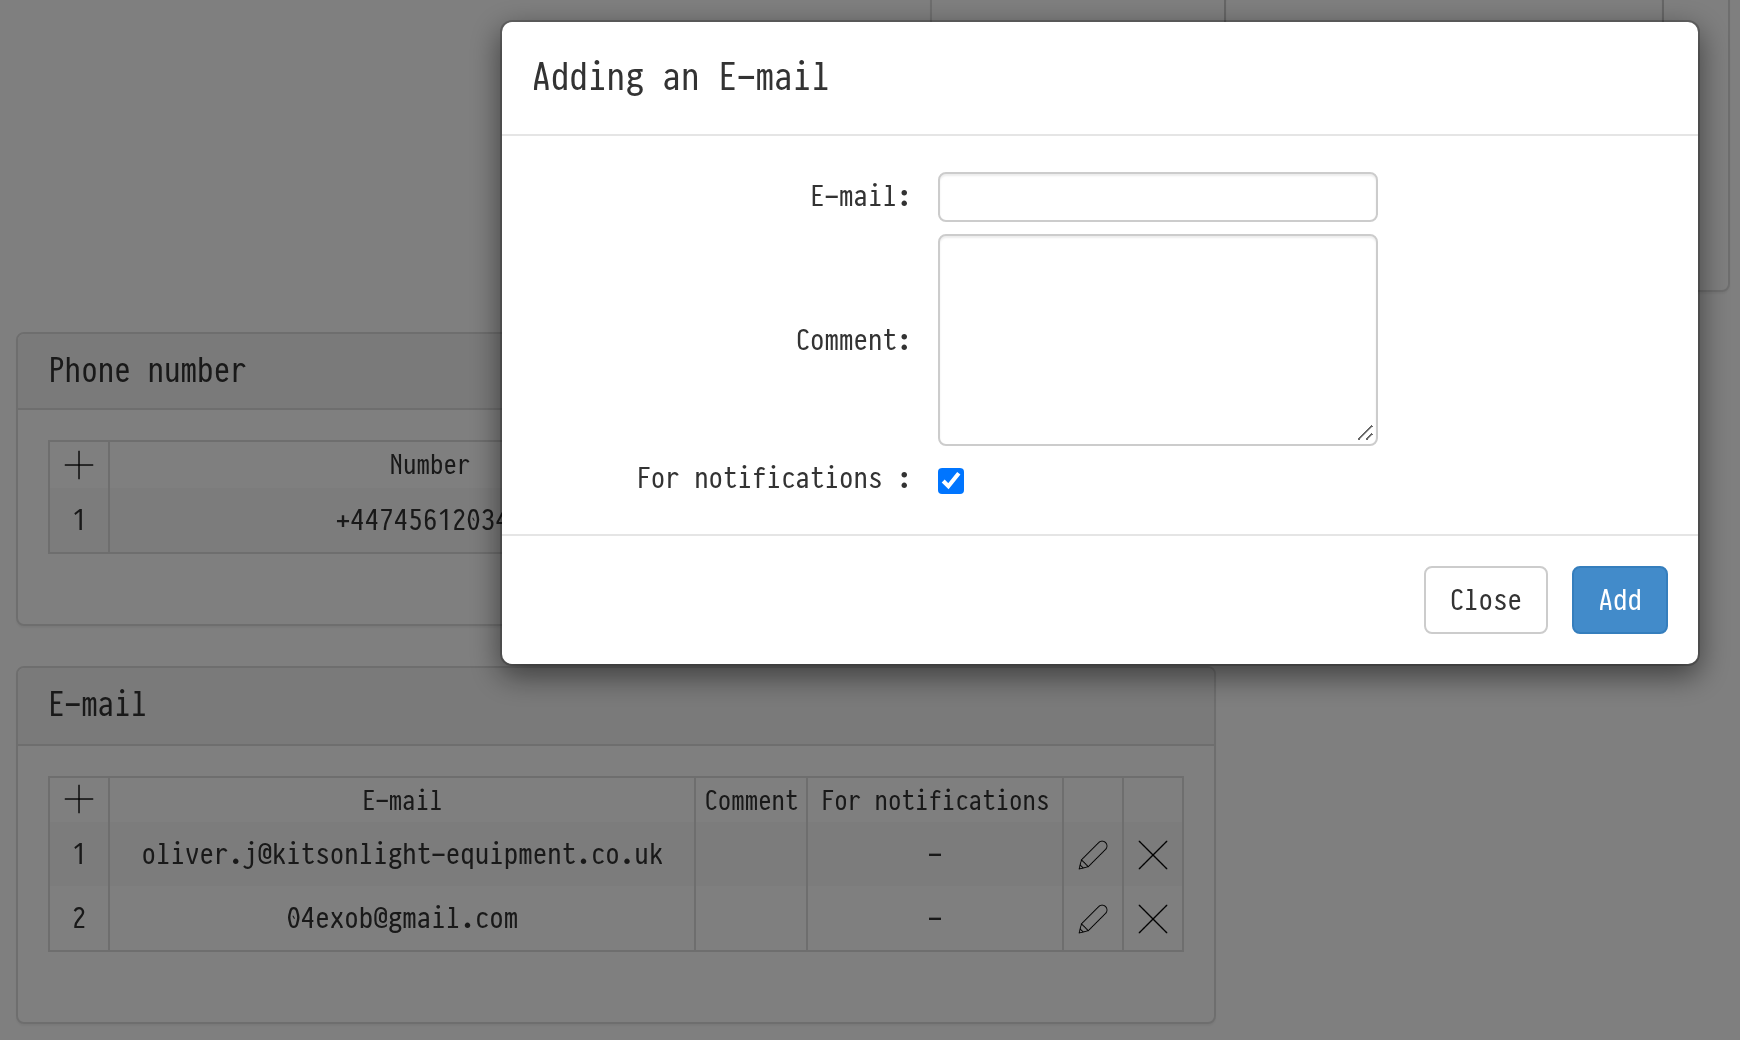
To add an address, click the "+" icon in the table title of the block. In the "Adding an E-mail" window, enter the address and, if needed, a comment (for example, "work" or "personal"), and click "Add". There can be several addresses.
The "For notifications" checkbox marks the address the system sends the employee's emails to, for example about a new task or about being assigned as manager or foreman of a project. In the table, such an address has "+" in the "For notifications" column. You can edit or delete an address with the icons at the end of the row.
Please note. Project notifications are sent to every address marked "For notifications". Other system emails go to the first marked address, so mark the main address first.
The employee can add or change their own addresses in their personal account: there is the same "E-mail" block there.
The employee card also has the "Avatar" block, the "Schedule" block with the "Scheduled work" checkbox (it defines how working time is displayed in the "Staff" menu) and the "Telegram ID" field, used for the project chat in Telegram.