Adding and editing transport
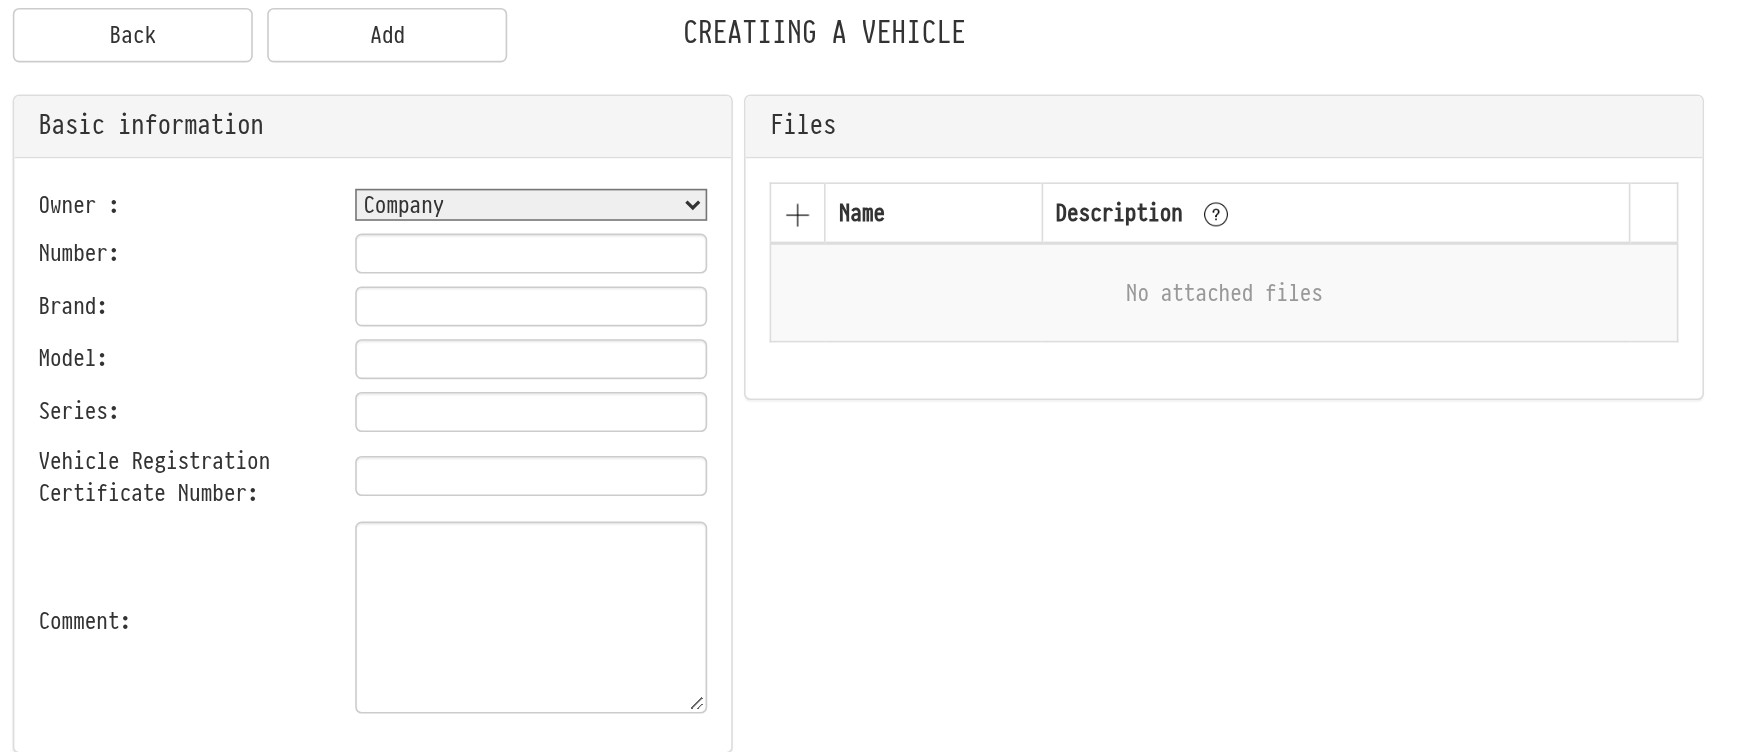
To add a vehicle, open "Databases" → "Vehicles" and click "Add". The vehicle creation page opens. Only the "Number" field is required; you can fill in the rest later.
Basic information
Enter the number, brand, model, series and vehicle registration certificate number.
In the "Owner" field, specify whose vehicle it is. "Company" is selected by default. If an employee drives to projects in their own car, select them from the list of employees. The owner is visible when you add vehicles to a project: in the list of vehicles it is shown in brackets after the number, for example "Ford Transit (1234ABC|Jose Luis Sanchez)", and on the "Planning" tab chart, in the tooltip of the vehicle.
In the "Comment" field you can leave any note about the vehicle.
Specifications
In the "Specifications" block you can enter the fuel consumption and the current mileage. In the "Operating rules" field, describe how to handle the vehicle: for example, which fuel to use or where to leave the keys.
Files
In the "Files" block you can attach photos of the vehicle and its documents. Click the add icon in the table header and select the files. Only images can be uploaded: JPG, PNG, GIF, BMP, WEBP. To add a description to a file, double-click the "Description" field in its row.
Driver's log
In the "Driver's log" block, specify the company and the garage address. This data is used to create driver's logs.
When everything is filled in, click "Add".
Editing
To edit a vehicle you have added, click its number on the main page of the database. The editing page has the same blocks as the creation page. After making changes, click "Save".
Key concepts
vehicles, vehicle, owner, employee's own car, specifications, operating rules, files, driver's log