Content
The Content tab defines which parts the document consists of and which data is printed in it: the title page, the QR code, company details, stamp and signature, the set of fields, columns and totals, the roles of the team and the note.
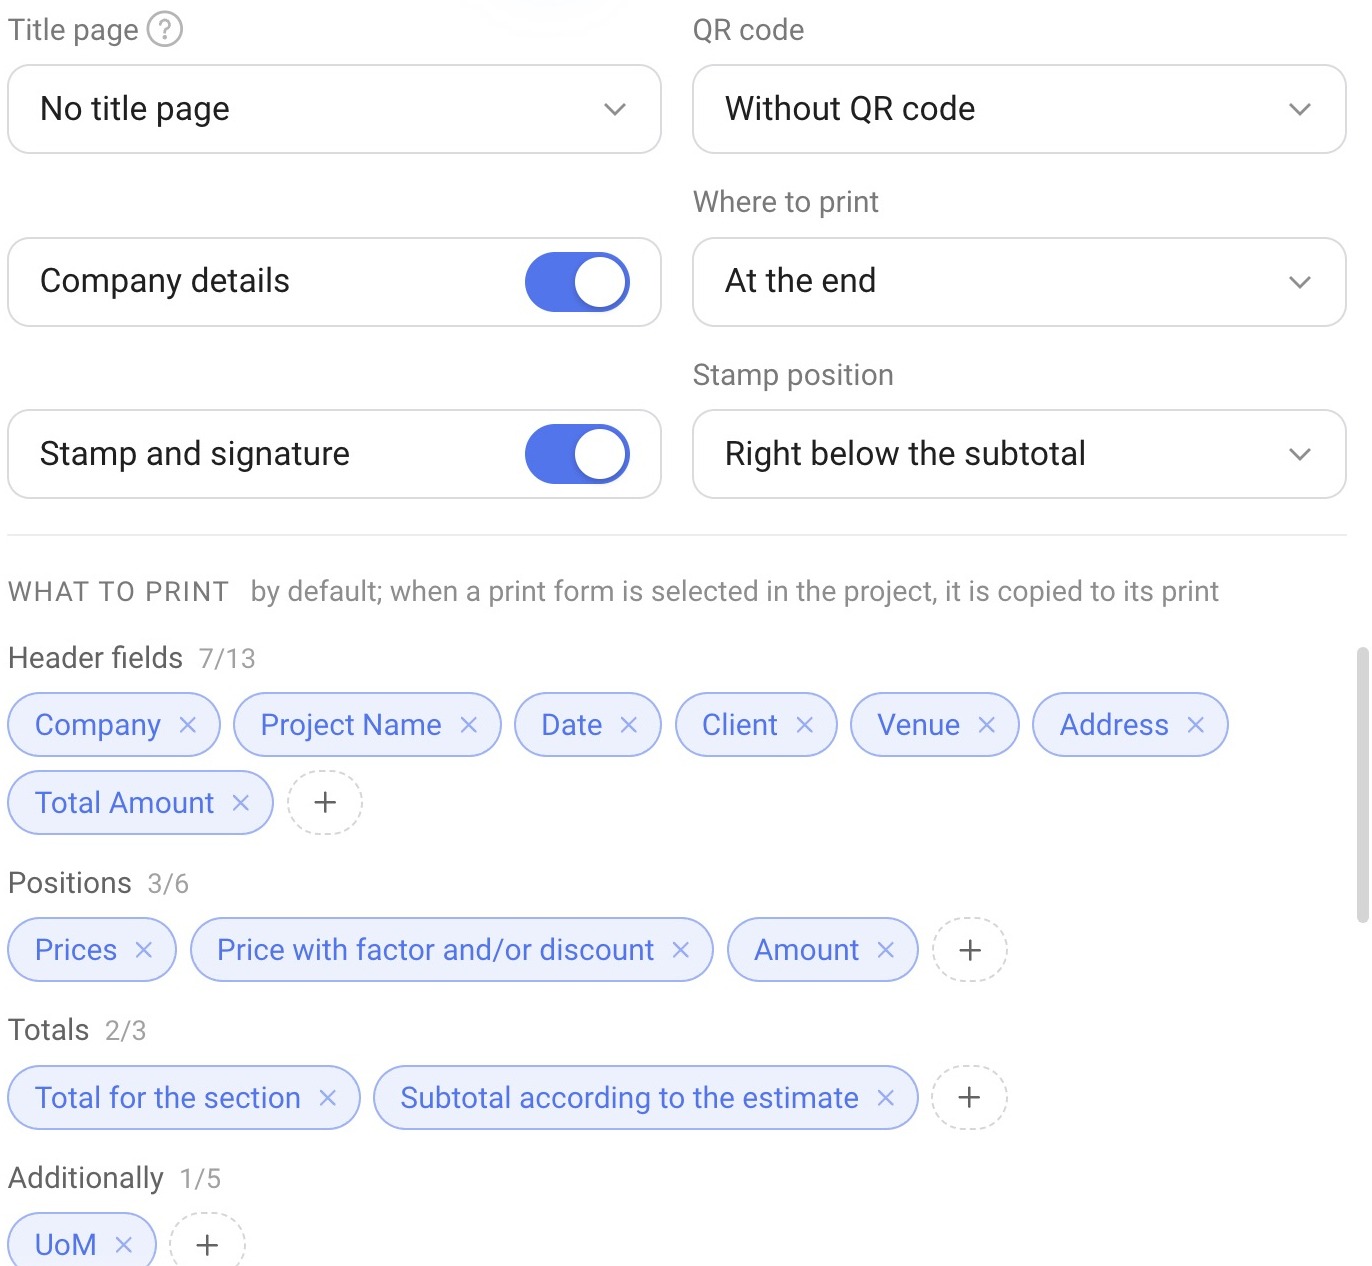
Title page, QR code, company details, stamp and signature
Title page: “No title page” — straight to the table; “Title page” — name, project, client, dates; “Title page with photo” — the same plus a full-width photo (the photo is uploaded on the Files tab).
QR code: “Without QR code”; “Company website” — a link from the company profile; “Your own link” — for example, for payment or a brief.
Company details — the switch adds your company details to the document. The “Where to print” list next to it sets where they appear.
Stamp and signature — the switch adds the stamp and the signature.
Stamp position: “Right below the subtotal” — on the same page; “At the end of the document” — as before.
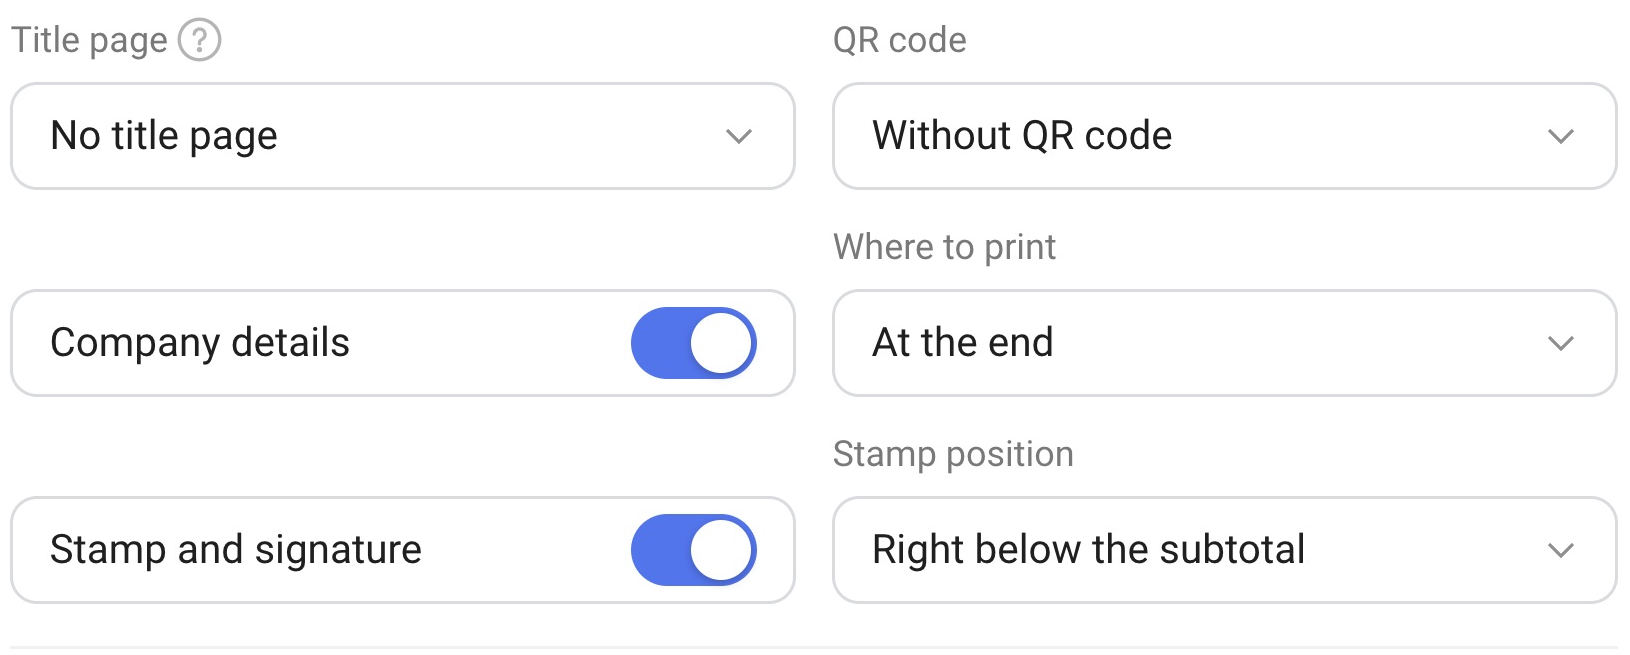
What to print
The “What to print” block defines which fields, columns and totals get into the document. The selected items are shown as “pills”: “×” removes an item, “+” adds one. Next to the name of a group you can see how many items are selected out of the available ones (for example, 7/13). The hint of the block explains that this is the default set and that it is copied into the project when you choose the form there.
Please note. The “What to print” set in a form is the default set. When you choose the form in a project, the set is copied into the project, and from then on the project uses its own set. For more details, see the article “Printed forms: how it works”.
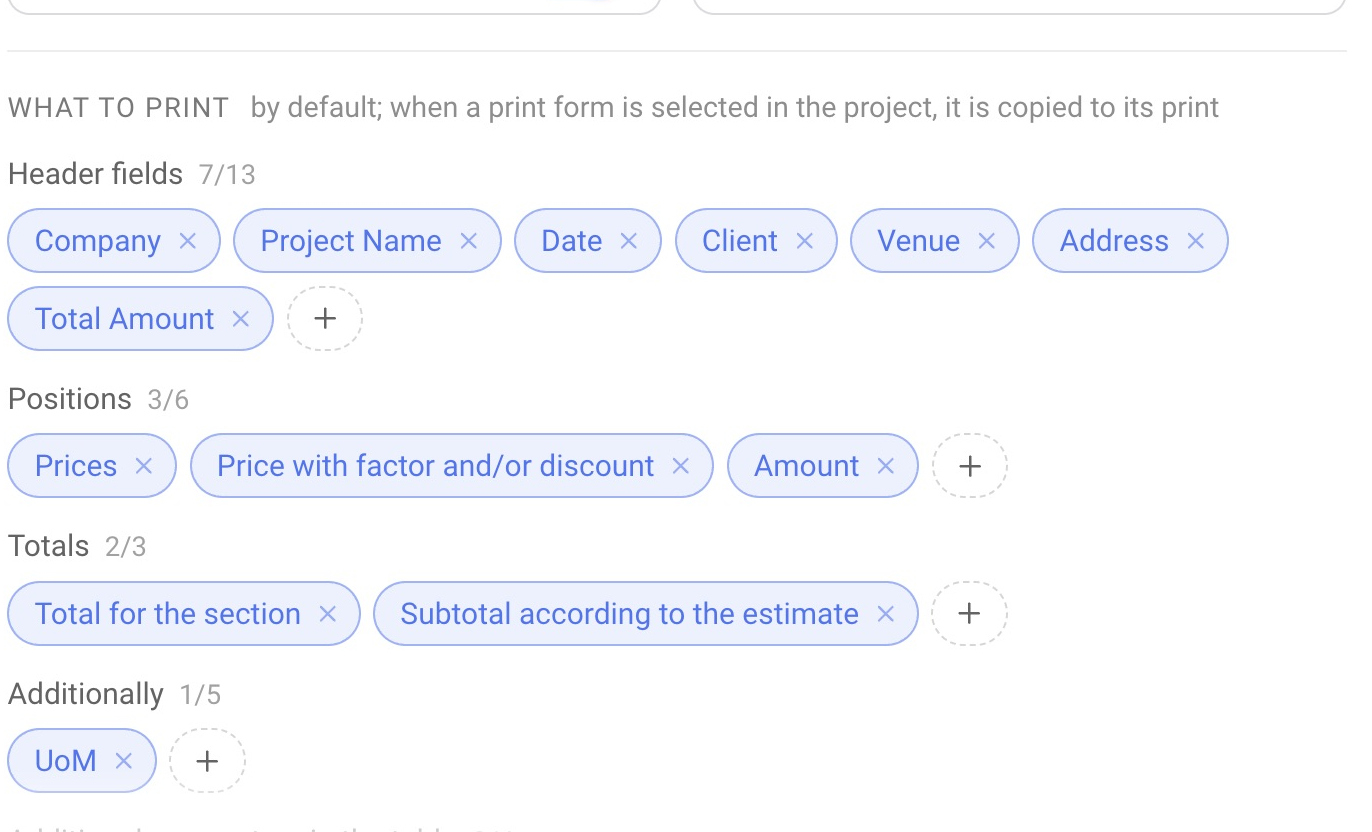
Header fields (13)
Project details above the table of items: date of formation, project number, company, project name, event date, event time (available only together with the event date), client, client phone, venue, address, total amount, currency, price type.
Positions (6)
Columns and details of a row in the table of items:
Prices — show the prices of the items;
Coefficient — can be used without prices: only the coefficient is printed;
Discount — together with prices;
Price with factor and/or discount — together with prices and the coefficient and/or discount;
Amount — together with prices;
Photo — show the photo of the item.
Totals (3)
Intermediate totals: “Total for the section”, “Total by entry type”, “Subtotal according to the estimate”.
Additionally (5)
Project comment — the comment from the project card, under the header;
Zero entries — show items with zero quantity;
UoM — units of measure;
Note — the lines of the “Note” section (see below);
Page numbering.
Additional parameters in the table (4) and in totals (4)
Technical parameters of items: volume (m³), power (W), weight (kg), current (A). In the table they are taken from the product cards in the catalog and multiplied by the quantity; empty ones are not printed. In totals, the sum for the sheet is shown — in rows under the sheet totals.
Sections (2)
“Section title” and “Subsection title” print the names of the catalog sections and subsections in the table.
Additional documents (4)
Appendices that are printed on separate pages after the estimate: “Timeline”, “Staff”, “Vehicles”, “Tasks”.
Summary register
A summary table across all sheets of the estimate. For it, you choose prices by type: for equipment, for consumables and for services. There is also the option “All tabs on one sheet” (.xls only).
Roles for printing
The “Roles for printing” setting answers the question: who from the project team should be printed in the header. Choose the roles to show — for example, “Foreman”, “Manager”, “Project Manager”. The list of roles comes from your company.
Note
The “Note” field adds lines under the totals: terms, deadlines, “prices excluding VAT”. You can use variables in the lines (groups “Document”, “Project”, “My company”, “Amounts”, “Taxes”, “Date”). The “↑” and “↓” buttons change the order of the lines, and “+ Row” adds a new one. The note is left over from the previous interface; more flexible texts with paragraphs are built on the Blocks tab — see the article “Blocks and note”.